Thursday, October 13, 2011

Three Days of KCWC and pin-did

This past week has been Kids Clothes Week, over at elsie marley! The challenge was to spend one hour every day working on clothes for the kids. I have been cheerfully participating - my kids have really been in need of some new clothes to carry them into the cool fall season. I'm posting the work of three days in one post, because I bought a new camera (imagine a huge choir singing "hallelujah!") but it didn't get here until today (Thursday) so I couldn't take pictures. My old camera has finally finished biting the dust. I couldn't even see any picture I took with it until I uploaded it onto the computer. And forget about adjusting for focus, lighting, etc. Hooray for my new Fuji S1500. :)

Also, every item I've worked on so far this week has been something that I have pinned on Pinterest. So this also counts toward the Pin-Did challenge at The Modern Marigold. This challenge is to once a week actually do something that you have pinned on Pinterest. What a novel idea!

Monday:

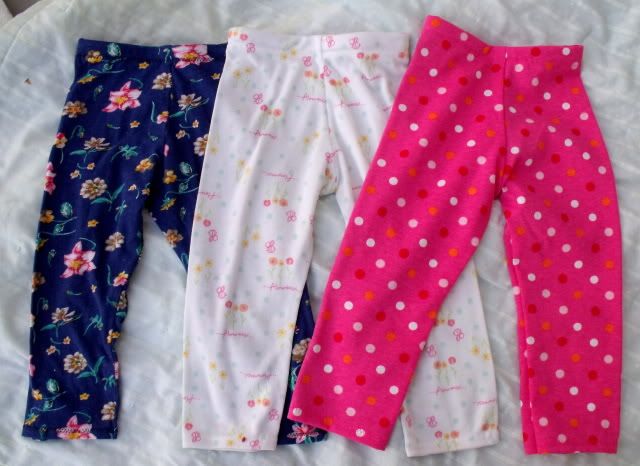
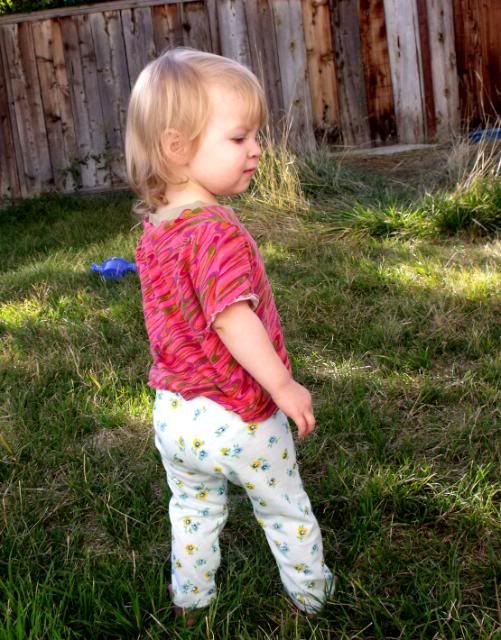
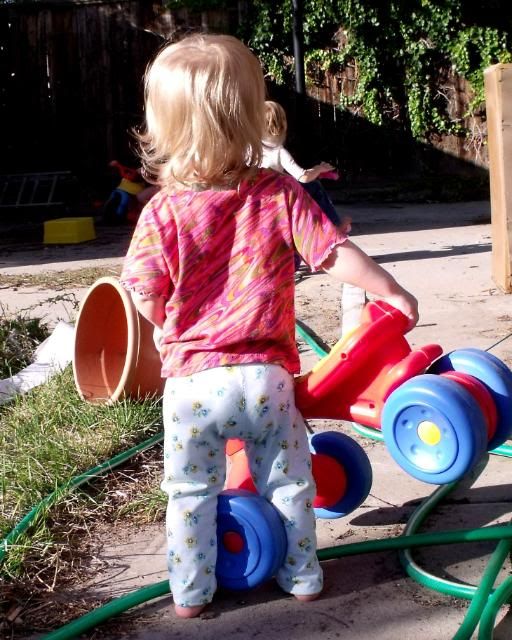
Audrey needed new leggings. She has so many cute little dresses, and with the weather getting cooler (we can see snow on the mountains!) leggings are the perfect thing to keep those cute little legs warm. I used the tutorial from make it & love it (pinned here) to make some super simple leggings. It's such a simple pattern that I was able to make four pairs in part of an evening. Now those little legs will stay warm when Audrey is dressed up for church. Or wherever. :)


Tuesday:

I headed in a different direction on Tuesday - crochet. Using this pattern from Christina's Crochet Haven (pinned here), I made a darling sweater coat for Zaylee. She loves wearing sweaters, and this one just looked so cute and fun. I didn't have enough of any one colorway to do the whole sweater, so I ended up using three different skeins - one for the top of the bodice, one for the bottom of the bodice, and one for the sleeves. I actually really like the way it turned out. Besides, color blocking is a pretty trendy look right now, so I can probably get away with telling people I did it on purpose.
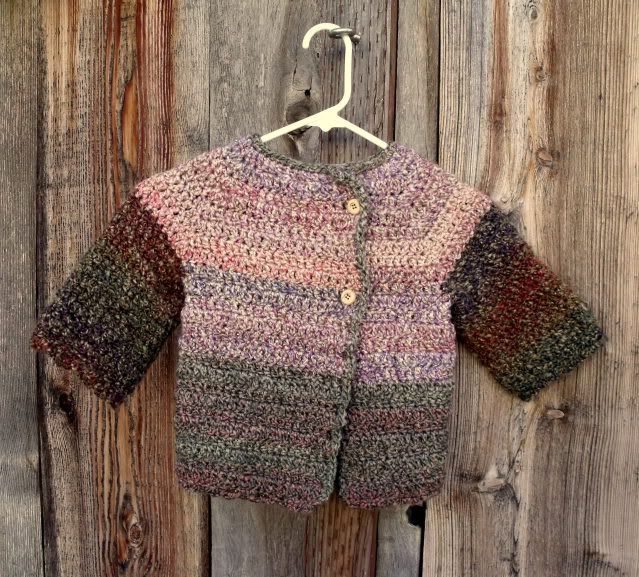
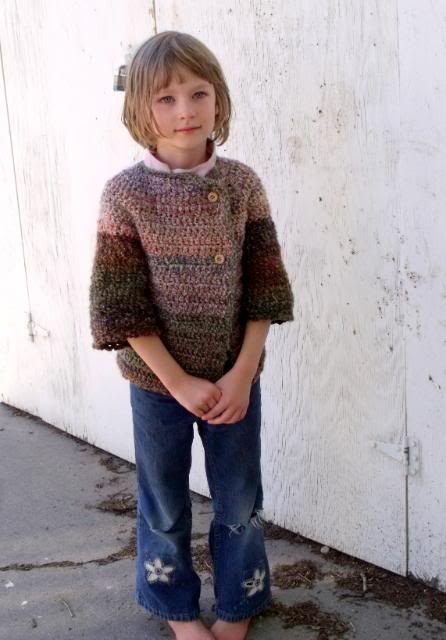
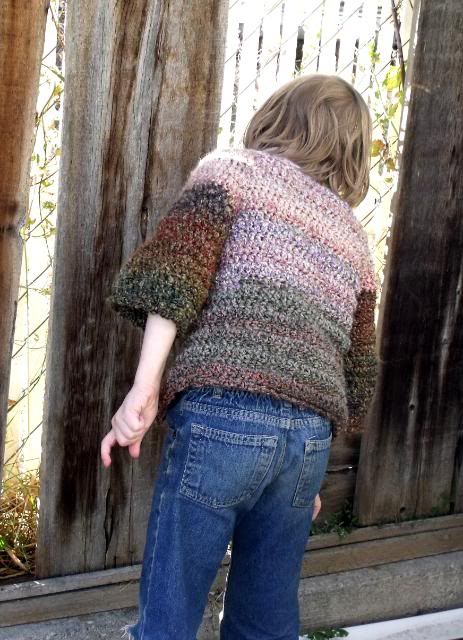
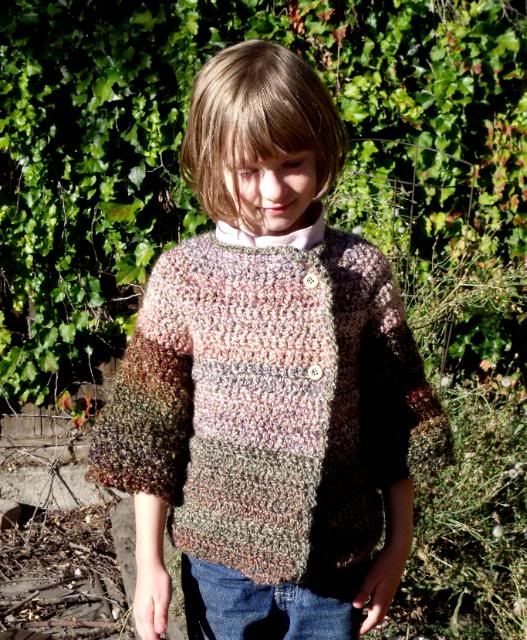
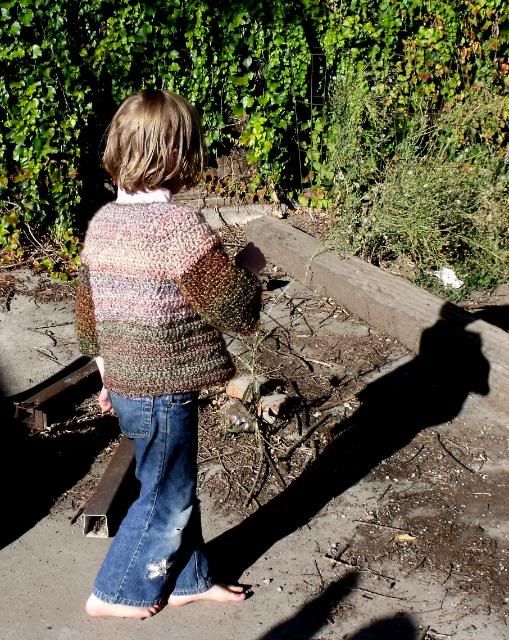

Just a quick note: I love working with Lion Brand Homespun. It's so soft and chunky, and very comfortable. And the mild color gradations are just so fun and so pretty. Plus the texture is great for hiding little mistakes (nothing too major, just wonky tension and stuff like that). I always keep an eye out for it at thrift stores, because I'm too cheap to buy it retail. But when I do find it, it's like I've found a pirate's treasure, that's how excited I get. I just really like this yarn.

Wednesday:

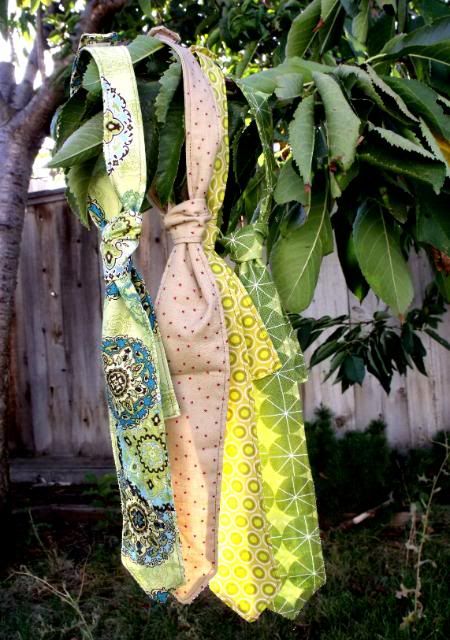
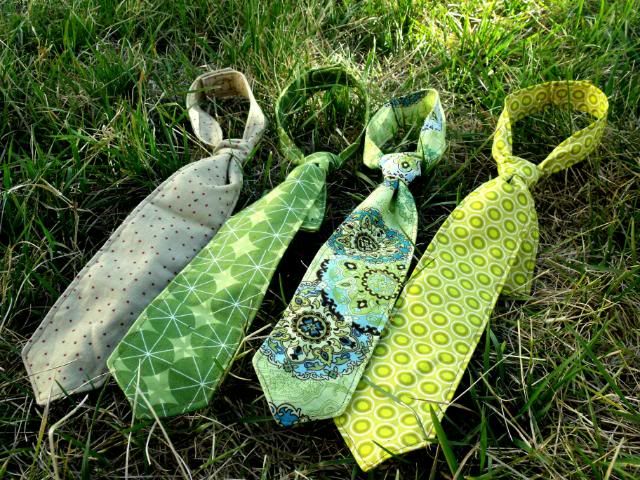
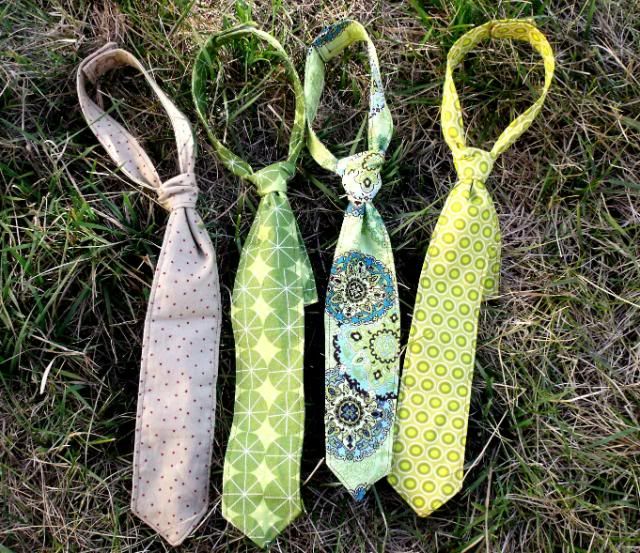
Thomas' turn to get in on the KCWC action. I recently got my little guy a few new dress shirts for church. Naturally this led to the desire to make new ties to go with his new shirts. I loosely followed the tutorial to make a skinny tie from see kate sew (pinned here). I didn't follow the pattern/tutorial exactly, because I wanted the ties to be a little bigger. I went ahead and made several ties, assembly line style, so we can have a variety to choose from each week. I love dressing up my kids, it's so fun.

Also linking to:
Feelin' Feminine Friday at The American Homemaker
friday fun finds at kojodesigns

Friday, October 7, 2011

Easy Cat Toy

This is about the easiest cat toy ever, short of cutting a length of yarn. And it's cheap too, it just uses fabric scraps.


Basically, just take three long strips of fabric (can be knit or woven). Tie them together on one end. Braid the strips together, then tie off the other end. Simple as that.


Then just let your cat chase it around!

Baby Wrap for my new Nephew

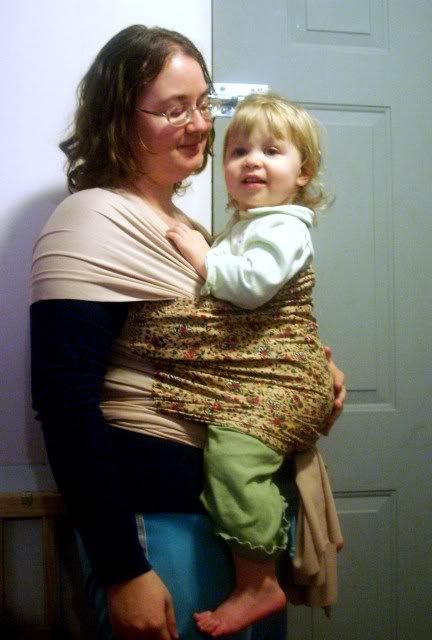
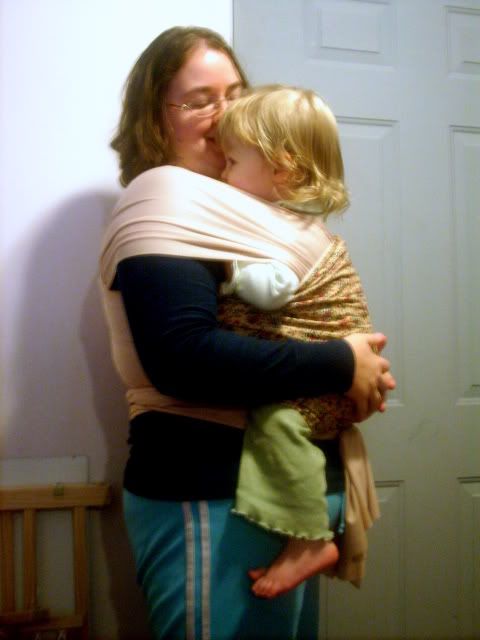
My little sister is having her first baby in a couple months. Gah, so excited! In honor of the new arrival, I made a wrap for my sister so she can wear her baby around hands-free. I love baby wearing, and own two slings, a mei-tai, and a wrap, all homemade.

For my sister's wrap, I used this great tutorial that I originally found on Pinterest. I like this wrap because it's made with three yards of fabric instead of six, saving me some money. And it features a personalized panel, for an extra splash of cuteness.


Linking to:

Friday Fun Finds at kojodesigns - because it's Friday and babywearing is fun.

Feelin' Feminine Friday at The American Homemaker - because motherhood is fantastically feminine.

Weekend Wrap up Party at tatertots & jello - because it's the weekend and the baby is all wrapped up.

The pin-did challenge at The Modern Marigold - because I pinned it and I did it.

Sunday, September 25, 2011

Grecian Maxi Dress

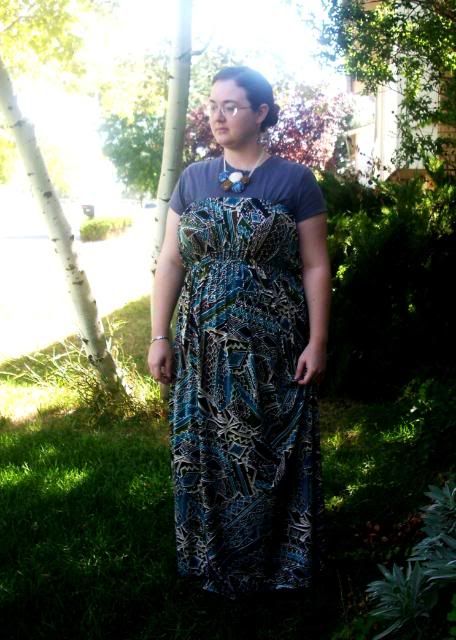
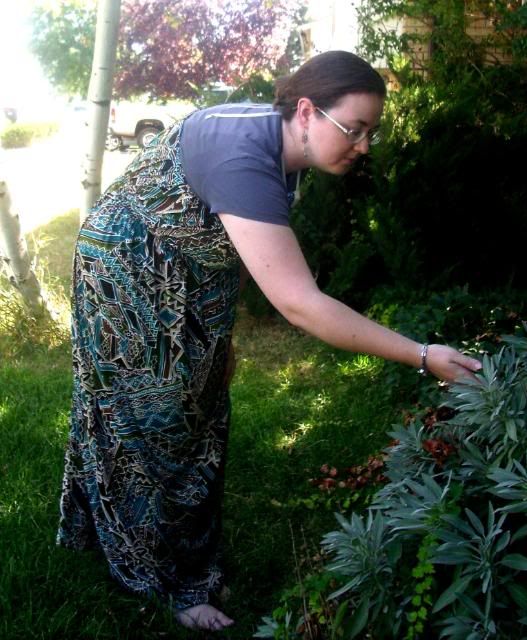
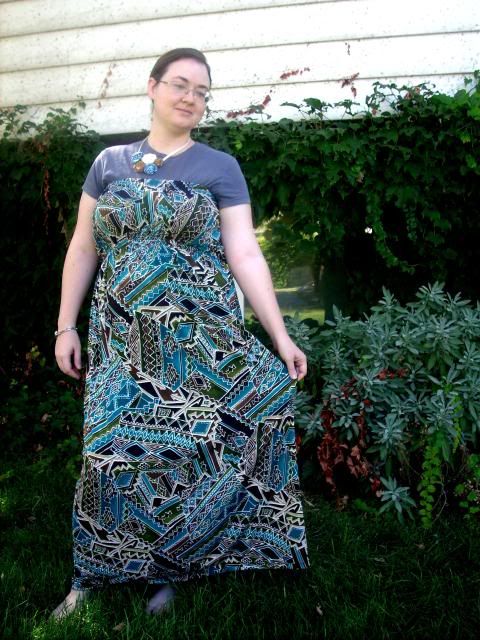
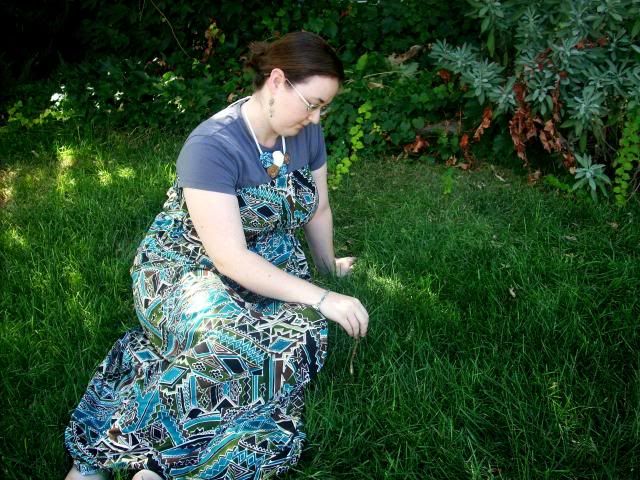
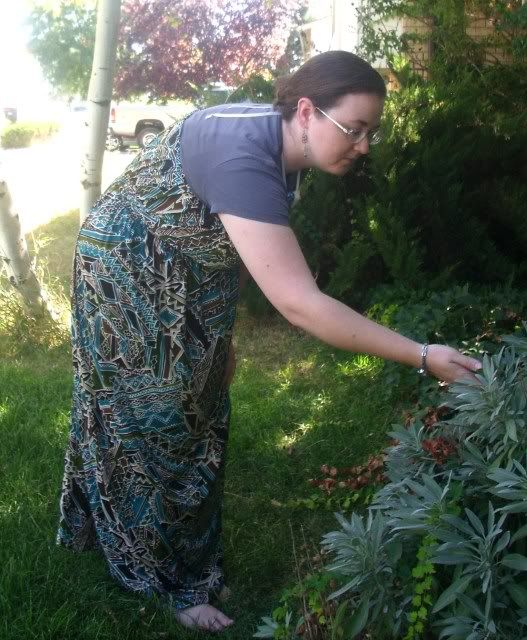
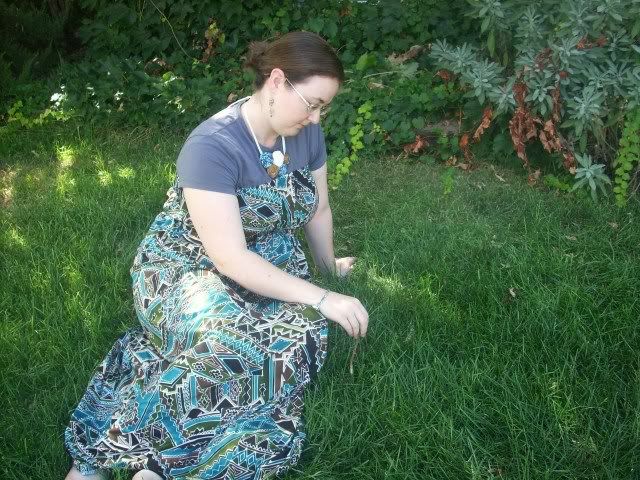
I've wanted to make a maxi dress for a while now. You know, before they go out of style or something. I hope that won't be for quite a while, because now that I've made a maxi dress, I have fallen in love! This is about the most comfortable dress I've ever worn, and it was so easy to make!


I used DIY Maternity's tutorial for the Grecian Maternity Maxi Dress, from a list of maternity tutorials I have pinned. No, I'm not pregnant, this dress is fantastic for regular wear as well as maternity. So I'm just calling mine a Grecian Maxi Dress. But it is nice to know that the next time I have a pregnant belly, I'll still be able to wear this.


The fabric is a fashion knit from JoAnn's. I wouldn't have bought it if it wasn't on sale for 40% off - even so it was a splurge for me at almost $8 per yard. But the print, the feel, the drape were all so absolutely wonderful that I went for it anyway.


This is one of the easiest dresses I've ever made. It's simply a fabric tube with elastic casings along the top and under the bust, then a hem on the bottom. It can be worn with a belt or sash, or as is.


Super comfortable. I love my new dress.

Linking to the pin-did challenge at The Modern Marigold.

Friday, September 23, 2011

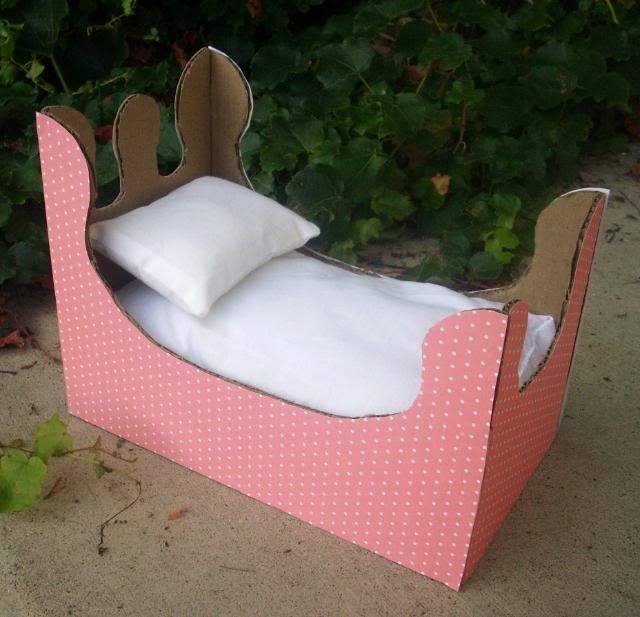
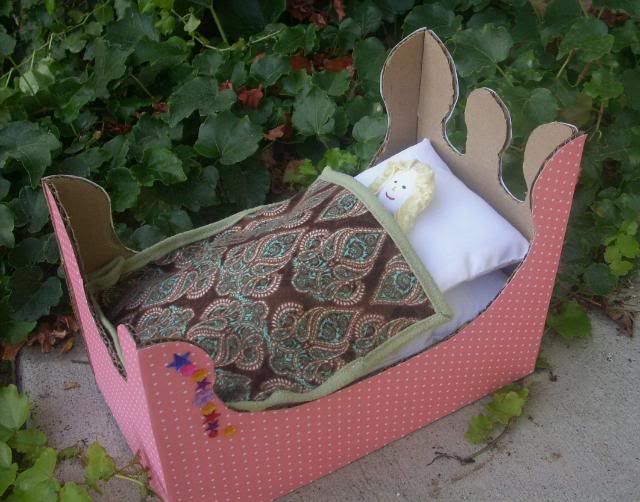
Princess Doll Bed

Zaylee has started a Language Arts unit on the story of Sleeping Beauty, and I thought it would be a fun additional activity to create a special Sleeping Beauty doll and bed to go along with this unit. Now Zaylee can act out her favorite part of the story to her little heart's content.

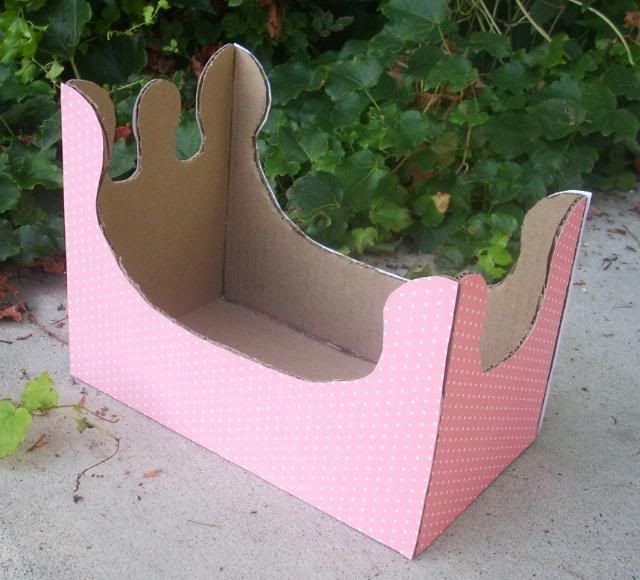
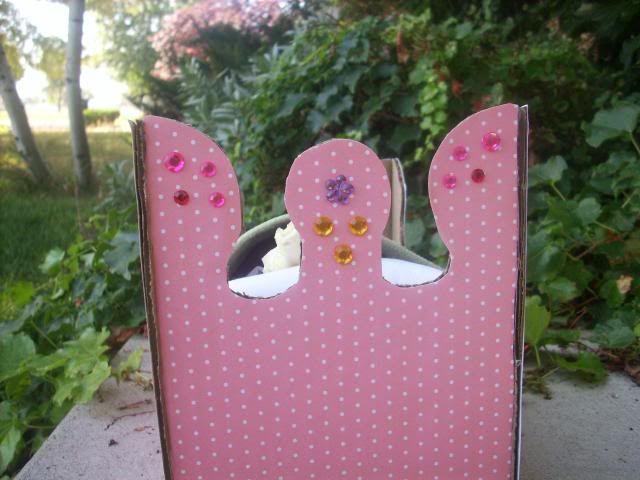
For the bed, I was inspired by this webpage. I drew the sides, headboard, footboard, and bottom of the bed on pieces of a large cardboard box, then cut them out (boy, cutting out fancy shapes from cardboard is hard work!). Then I glued scrapbook paper on each piece to make them pretty, and hot glued them all together. It made a sturdy little bed.


Next I sewed up a simple mattress, and a little doll-sized pillow.


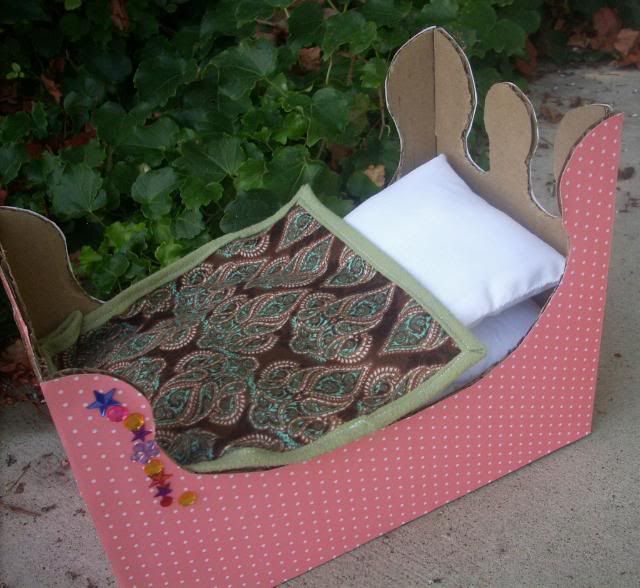
Then came the fun part. Zaylee and I got to decorate her new doll bed with acrylic jewels, to make it fitting for a royal princess.


Together we chose a pretty fabric to make a blanket for the bed, so Sleeping Beauty wouldn't get cold. P.S. Isn't this the most gorgeous flannel you've ever seen? DAMASK FLANNEL. How totally awesome.


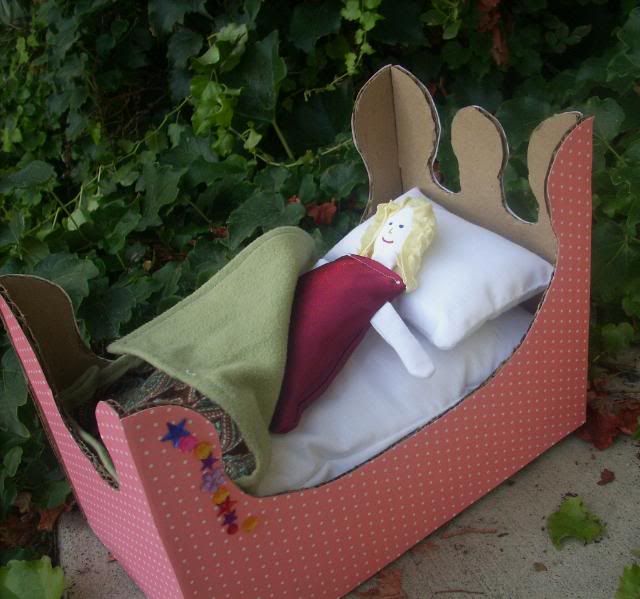
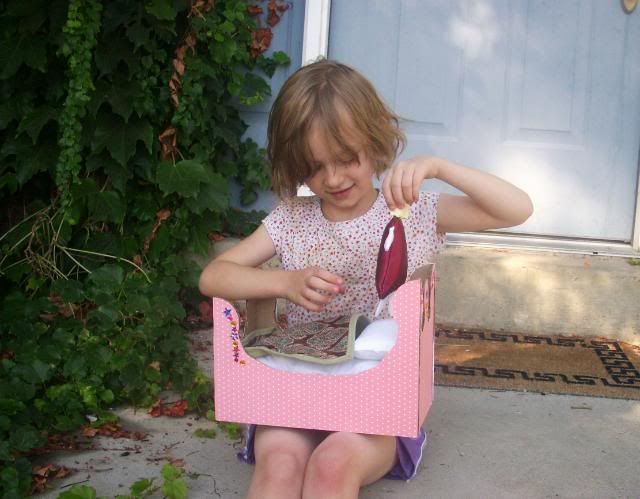
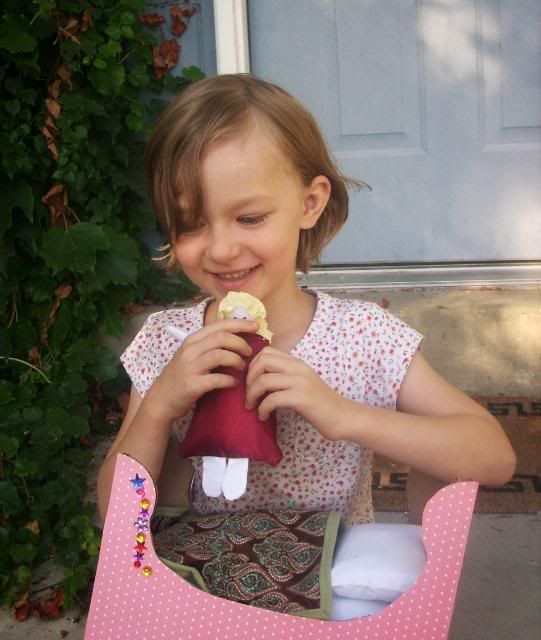
Lastly, we made a simple Sleeping Beauty doll to go in the bed. I did the sewing, while Zaylee chose the fabric for the dress and helped to stuff the doll.


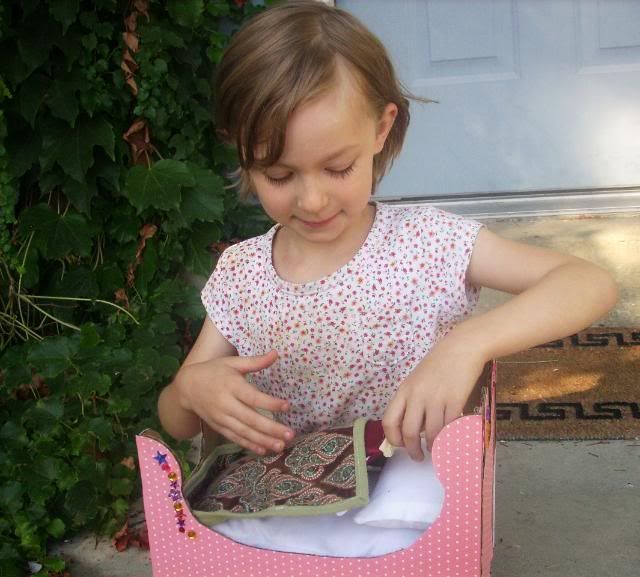
Thanks to this fun and simple craft, this has become Zaylee's favorite unit so far! We're both excited to do more school crafts together.


Linking this post to:

Feelin' Feminine Friday at The American Homemaker

Thursday, September 1, 2011

A New Kindle Cover

As I lay awake late last night (wishing I hadn't made and consumed a microwave mug cake right before bed) I came up with plans to make a new cover for my Kindle. I really like the first one I made, but there were improvements I wanted to make. The button loop on the side was a little annoying, and I wanted the elastic corners to be more snug and do a better job at holding the Kindle in place. Plus I wanted a bit more padding for the front and firmer board for the back.
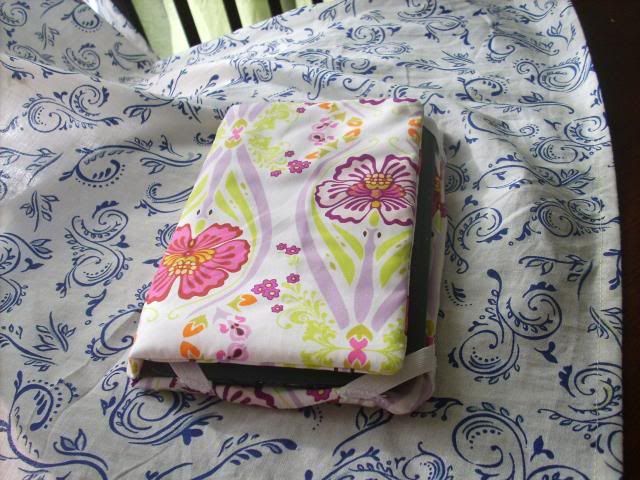
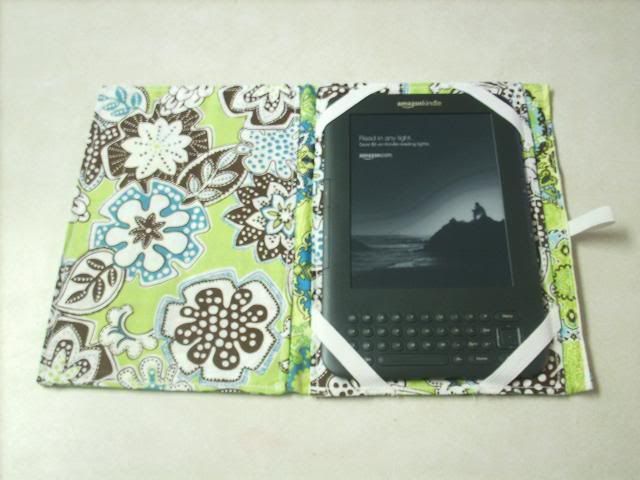
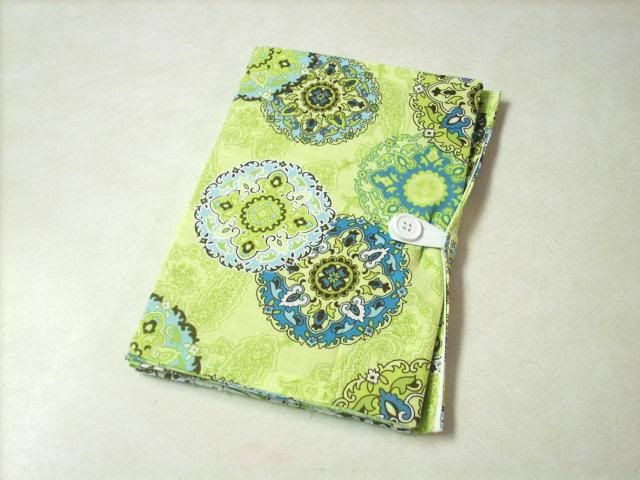
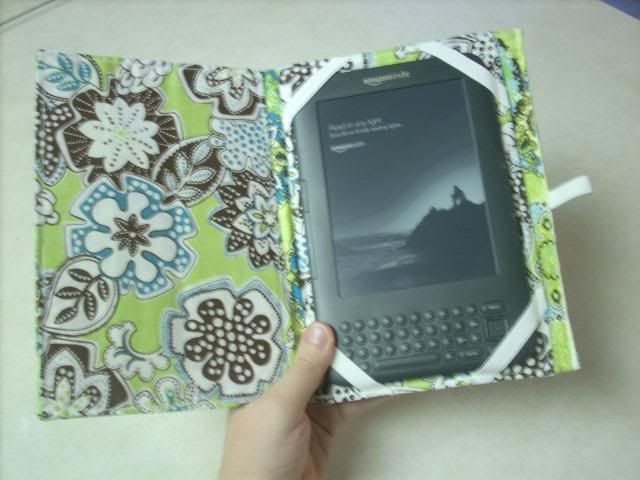
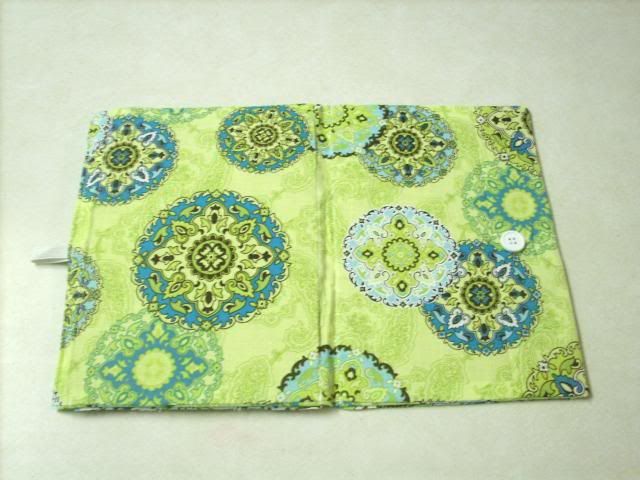
So I put all those wants and ideas together and came up with this lovely little thing:


I used a nice sturdy cardboard for the back, and batting for the front. The flap in the front can be moved to the back to open the cover, and to hold the padded part in place while I'm using the Kindle.

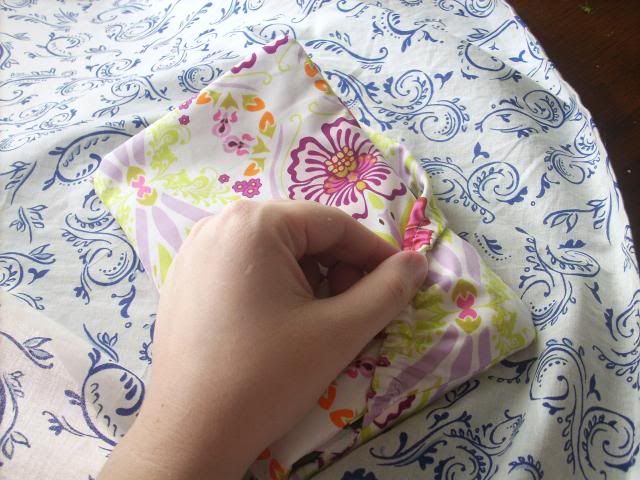
Pulling back the flap

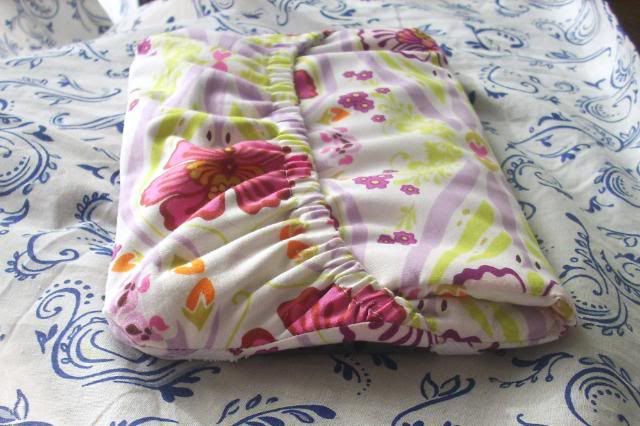
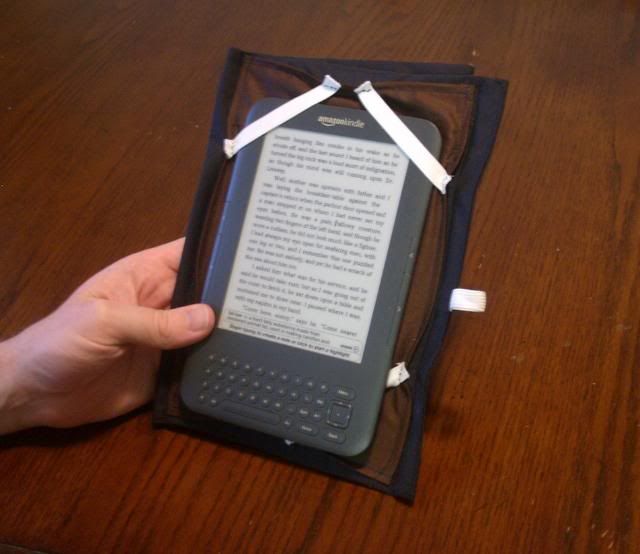
The padded front

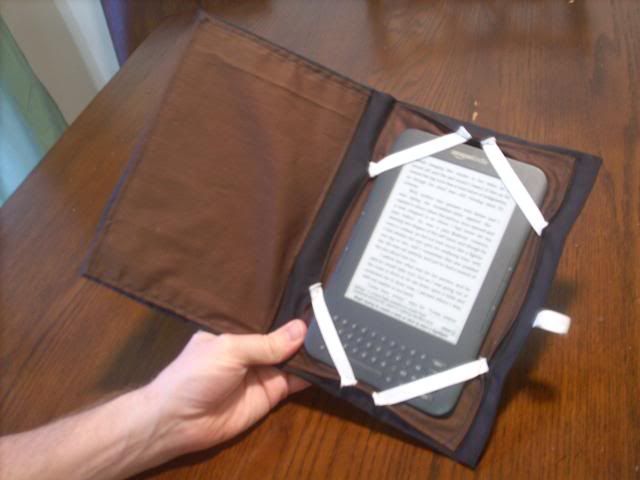
Opening the cover

The elastic flap holds the padded flap in place so it doesn't flop around

With a layer of batting in the front of the cover, I'll feel more comfortable keeping my Kindle in my bag when I go somewhere, and not worry about cracking the screen or anything. Plus, it makes it more comfortable to hold, because it's all soft and squishy.

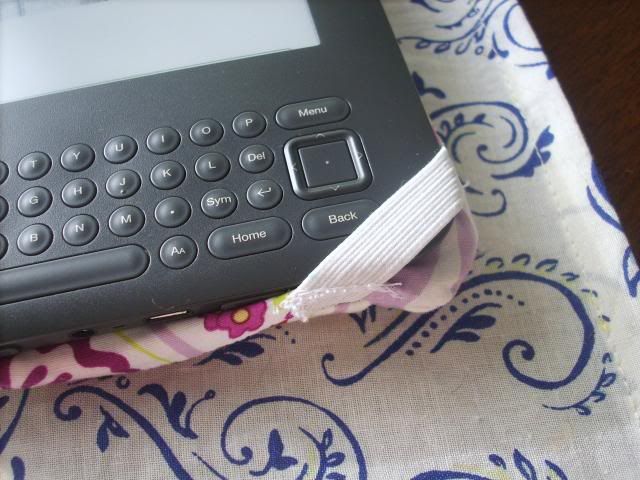
I made sure to make the elastic tighter so that it will hold my Kindle snugly, and the elastics also cover a little bit less of the bottom buttons. Now I don't have to take the Kindle out of its cover if I want to play games on it, which I do rather frequently.


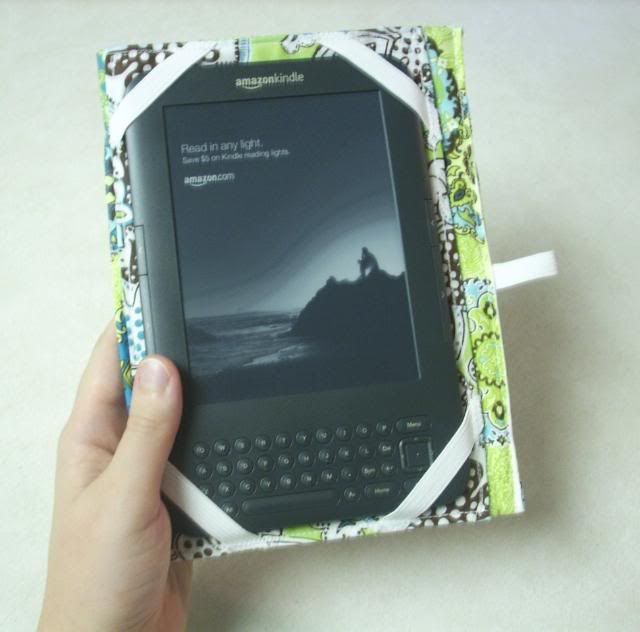
I think I did end up sewing the elastic straps on a little crookedly, as can be seen in this picture, but it's not enough to convince me that my experiment in creating my own Kindle cover was anything but a success.


I didn't take pictures of the process of making this, but if I ever make another one I'll try to put together a tutorial. Since this was just an experiment there are still kinks to work out. But on the whole I'm super satisfied and love my new Kindle cover.

Friday, August 12, 2011

Kindle Covers

Jeff recently bought me a Kindle. It was an early birthday present (very early, my birthday isn't until late November). I have been enjoying it so much that Jeff started expressing a wish to possess one of these magical e-readers as well. So I surprised him and bought one for him. Again, an early birthday present (his birthday is in December). There are two main consequences of these particular gifts. First, each of us will get only cake and ice cream on our actual birthday. Second, I felt a great need to make covers for each Kindle so that we can easily tell them apart.

The first one I made was for Jeff. It was sort of my experimental cover. I used this tutorial from One Pearl Button, to make a book-style cover. For Jeff's I pretty much made it according to the measurements and directions given. It turned out okay, and Jeff is quite satisfied with it. But there were a couple things I wanted to change about it when I made mine.

Here's the cover I made for Jeff. It holds the Kindle in nice and snug, and will be great to protect it when he takes it to work. But if you look closer, you'll see that the elastic covers the 5-way controller on the bottom right, and some of the letter keys on the bottom left.


Jeff doesn't mind this, and just pulls the Kindle out of the bottom elastics when he needs to use the buttons.


For my cover, I changed things around a little bit, though still used the basic premise given by One Pearl Button. And I used funner, brighter fabric than I did for Jeff's. :)


Changes I made:
1) I made the body of the cover smaller. Instead of cutting the body fabric 15" by 10.5" as per the tutorial, I cut mine 13" by 9.25". I wanted a snugger fit, a smaller and more streamlined cover.
2) I hemmed my accent fabric to be exactly equal to the size of the cardboard.
3) I cut 2.5" lengths of elastic, and machine-stitched them to the corners of the accent fabric before attaching it to the body fabric. I found this easier than hand-stitching them on afterward. Also, the smaller length of elastic doesn't cover the 5-way controller, so I can keep my Kindle completely tucked into its cover even when I want to play games or do anything that needs all those buttons.
4) When I sewed the body together, I made the seam line up exactly (as much as possible) with the outer edges of the accent fabric. This way, the cardboard pieces fit snugly and perfectly.

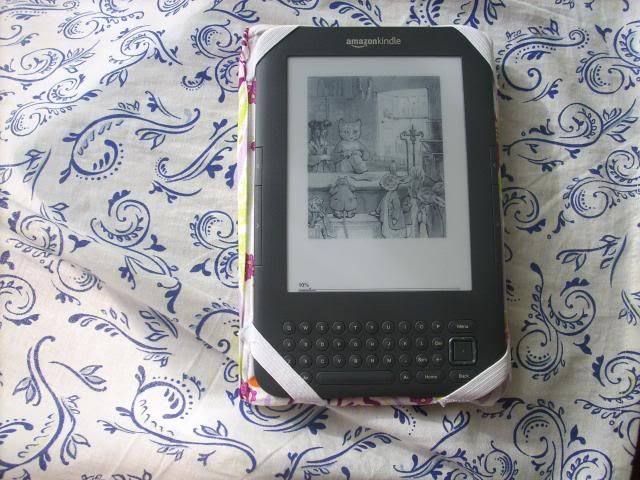
You can see here that the elastic doesn't cover the buttons so much, and that the seam of the main body lines up with the edge of the accent fabric.

Other than these changes, I followed the tutorial as written.

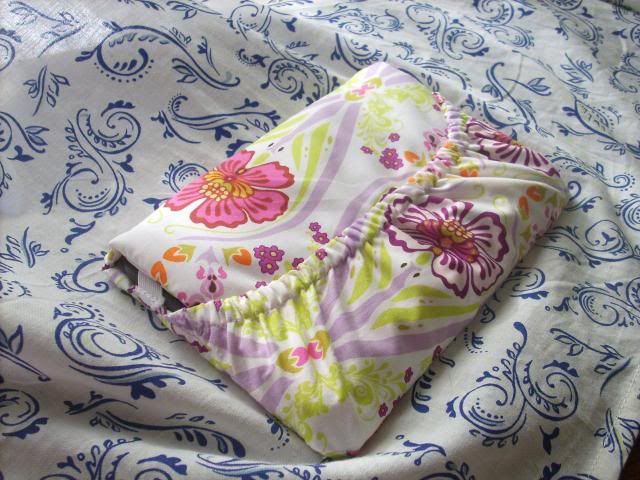
More pictures of my Kindle cover, which I have totally fallen in love with: