Sunday, May 8, 2011

I sew for me too sometimes - Knit Dress


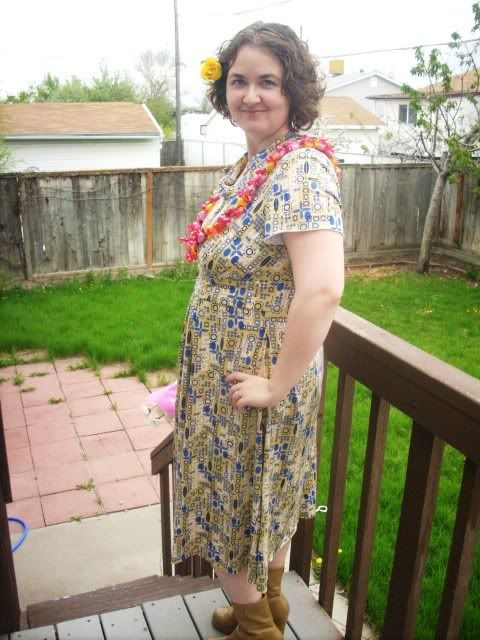
I started this dress a month or two ago, but never got around to sewing on the sleeves and finishing the collar. Last night I finally pulled it out of the closet to finish it. The funnest part was discovering that my daughter had gotten into my fabric glue and glued the sleeve pieces together. Doh! So I had to cut out new sleeves before I could finish the dress.

But I got it done, and I love how it turned out. It is a bit loose on me, but very comfortable. The original pattern called for simply doing a rolled hem on the collar, but I didn't like how low the neckline was. So I added a simple cowl-style collar. It's not perfect, but the imperfection gives it character and makes it look really neat.
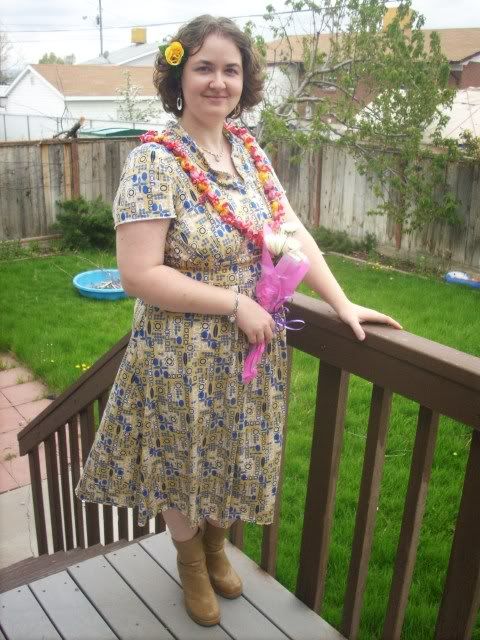

Here I'm modeling my Mother's Day goodies - a candy lei, a yellow silk rose, and a small bouquet of daisies. I look downright tropical!

I chose not to hem the sleeves or the bottom of the dress, simply because I finished this dress last night in order to wear it to church today, and it was getting late. Knit does well with unfinished edges anyway.
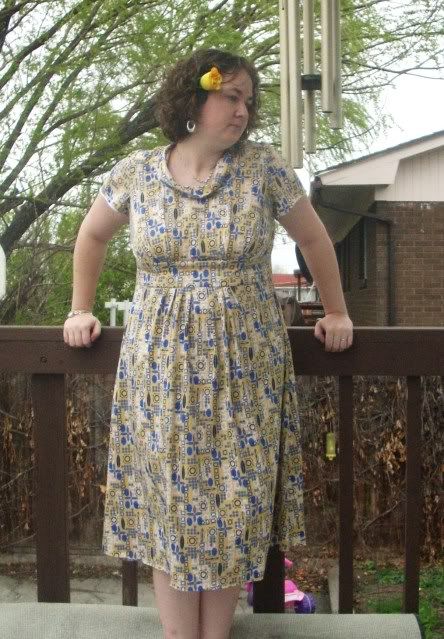

It's nice to sew something for me occasionally. I love adding new pieces to my limited wardrobe. :)


P.S. I used this pattern: 

Friday, May 6, 2011

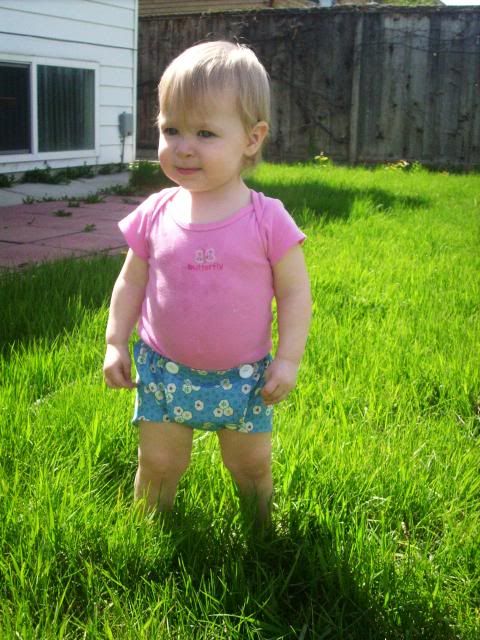
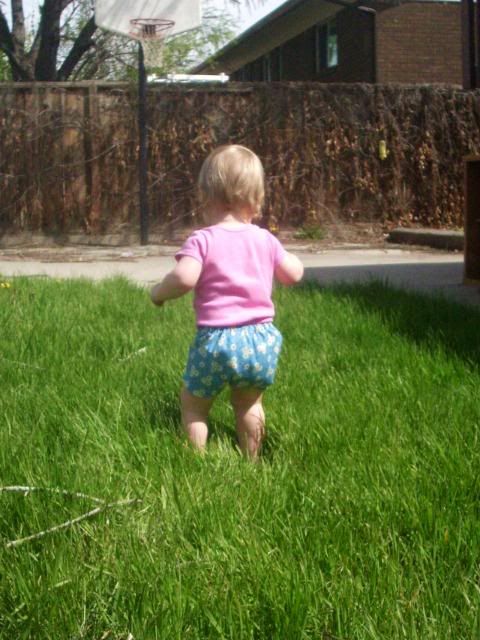
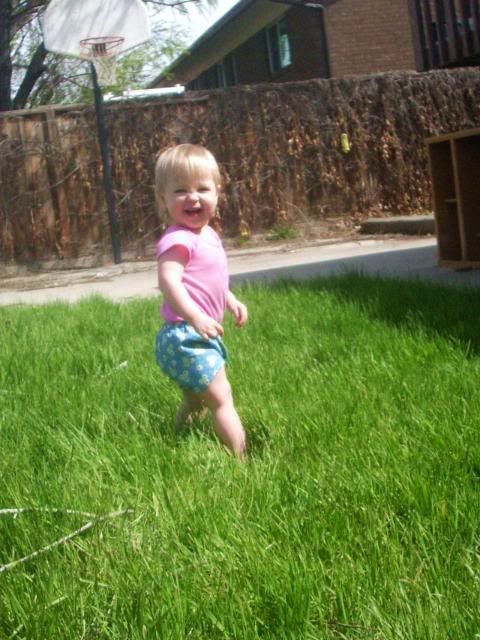
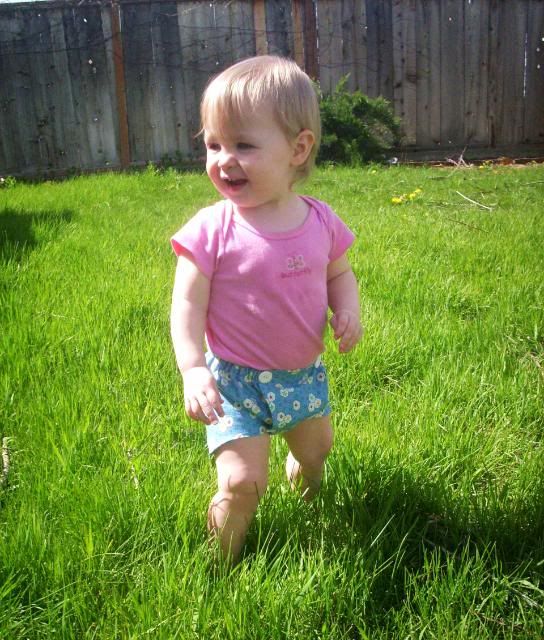
Summer Shorts for Audrey


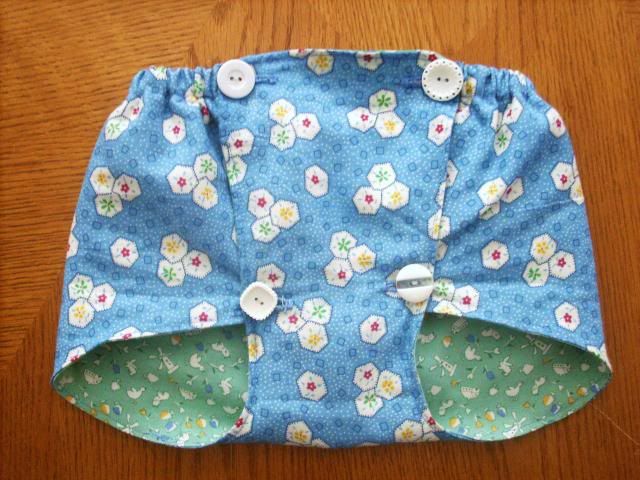
I found this sweet tutorial at Sewing in No Mans Land. I loved how cute and comfy the little shorts looked on the little model, and I also loved how easy to make they looked.


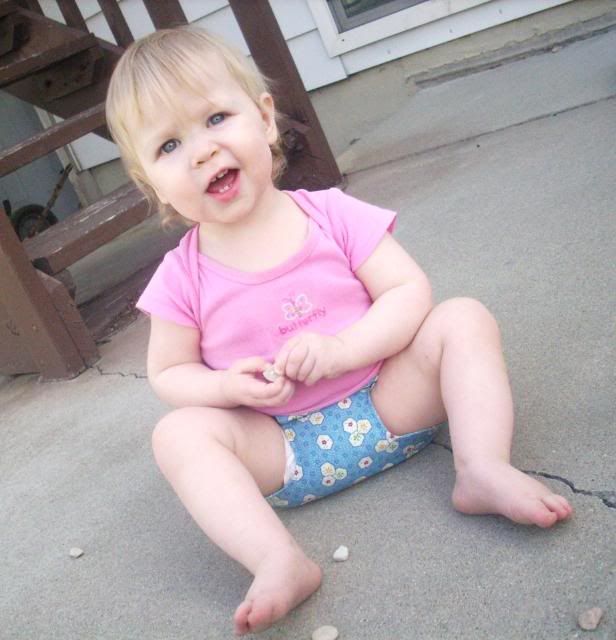
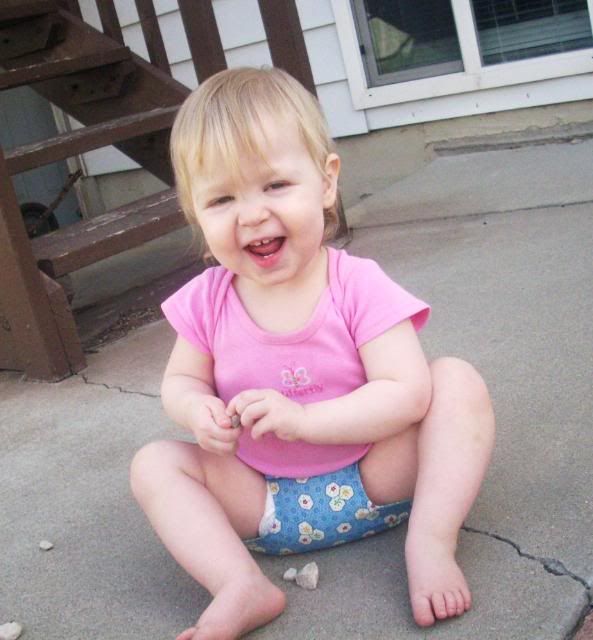
And now that I've made them, I love how adorable they are on Audrey!


One of my favorite parts is the mismatched vintage buttons. I luuurrrrve old buttons!


Now that I've made these shorts, I'm so excited to make more pairs! They were fast and easy, and are oh-so cute.


Monday, April 25, 2011

Easter Dresses

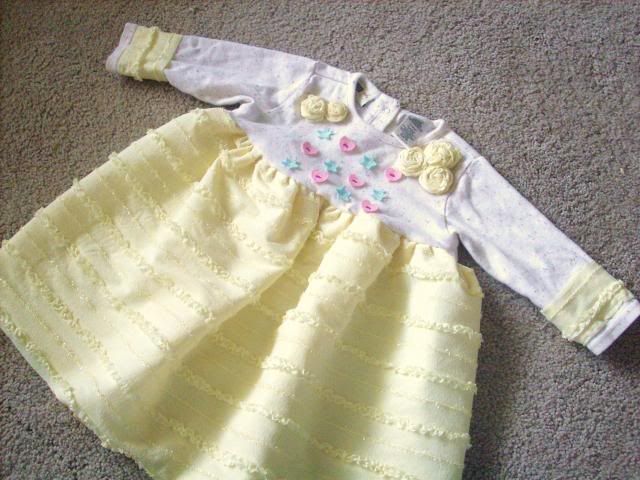
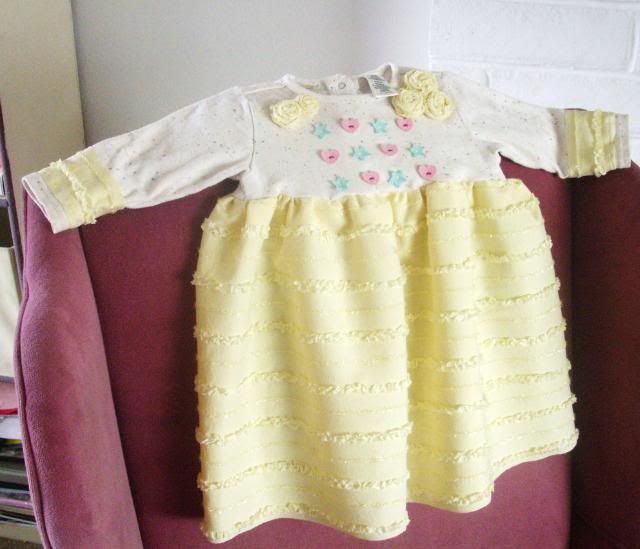
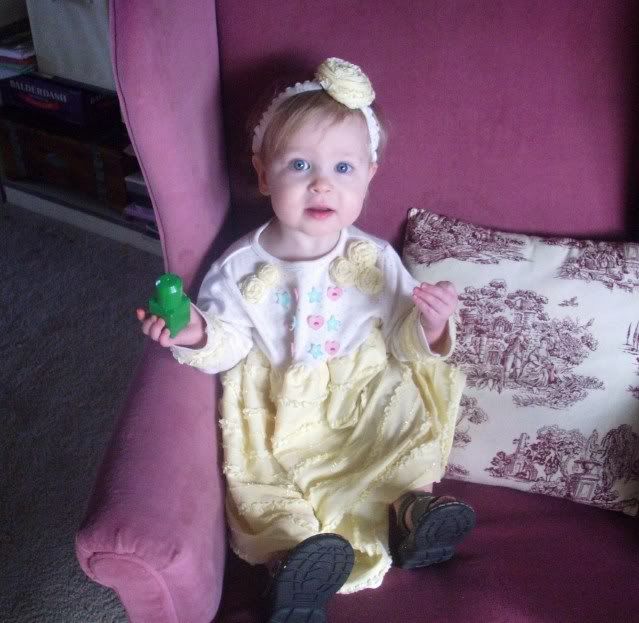
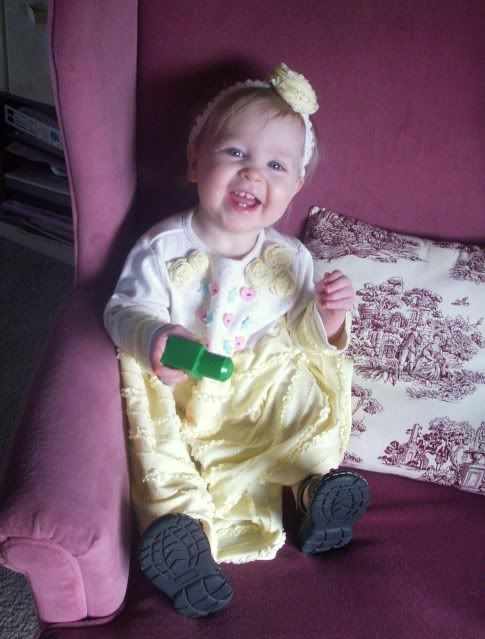
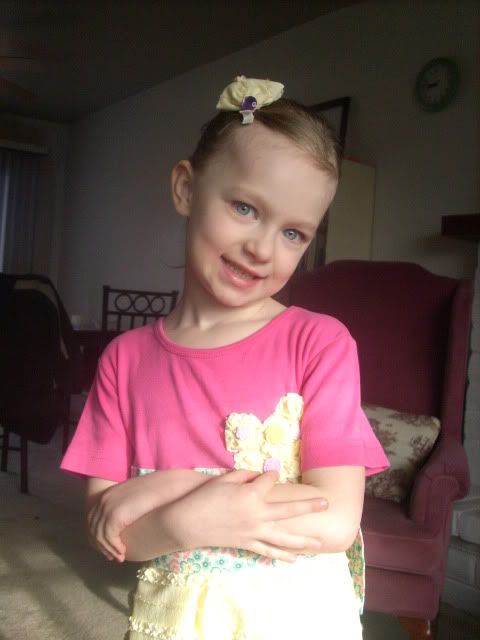
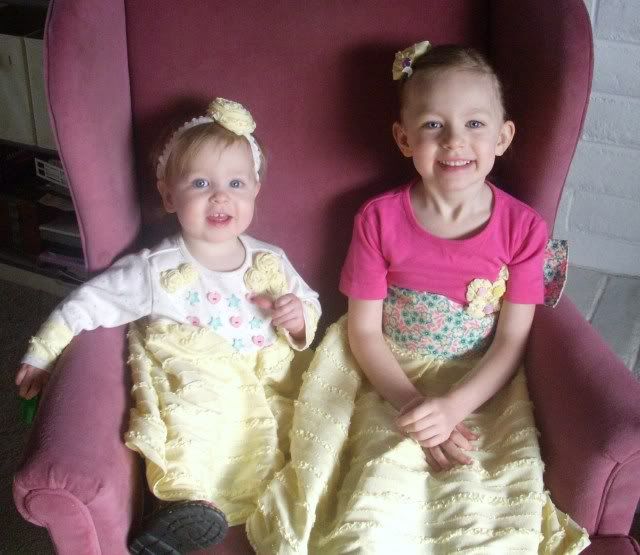
I was given some sweet, ruffly yellow fabric about a month ago. Even though it came in the form of curtains, I knew that I wanted to use it to make Easter dresses for my girls. I started with Audrey's dress. Formal, fancy dresses are fun, but I kind of wanted to go a bit more casual.


Ruffly Flowery Cuteness!

 
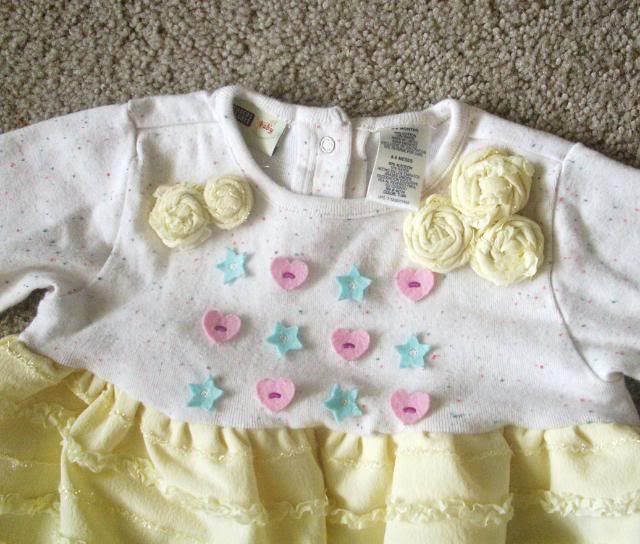
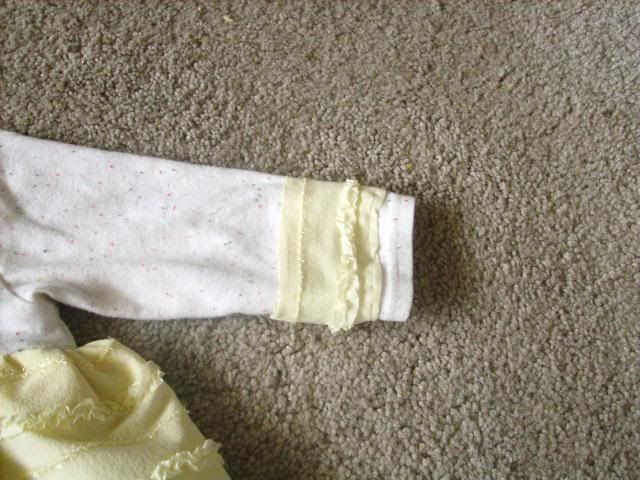
I don't have pictures of the process, but here's what I did: I cut the fabric into a large rectangle, sewed it into a tube to make the skirt, and gathered the top. Then I sewed the skirt to one of Audrey's old shirts. There were stains on the bottom, which I cut off, and there were stains on the collar and the sleeves, which I covered with rolled fabric flowers and cuffs.


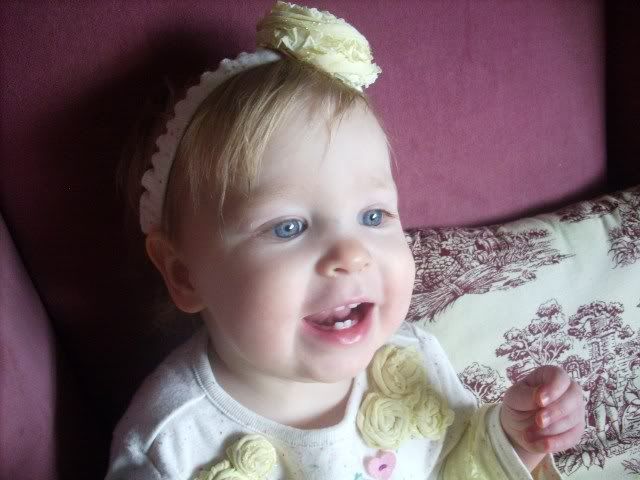
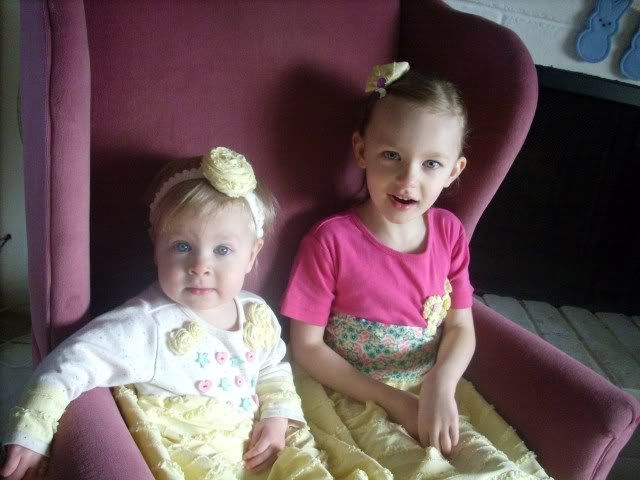
Of course, no Easter dress is complete without some sort of head gear, such as a special hat or hair clip. I chose to make a headband. For the band, I sewed a small tube out of some of the fabric I cut off of the bottom of the shirt, then put in elastic. Then I used a long strip of the yellow ruffly fabric to make a great big flower. It's the biggest rolled fabric flower I've ever made, and I love how it looks on the headband!


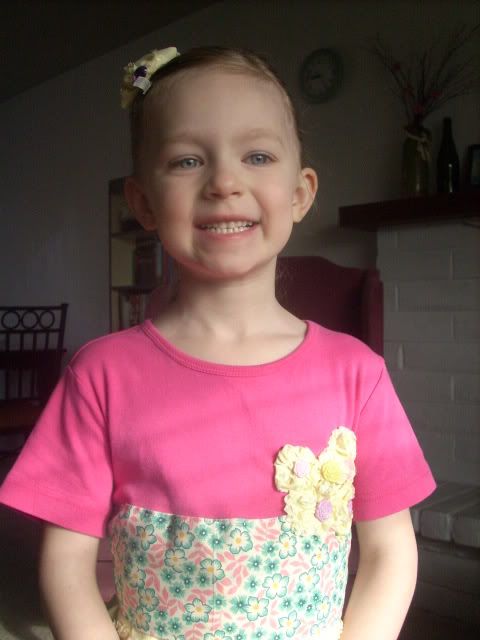
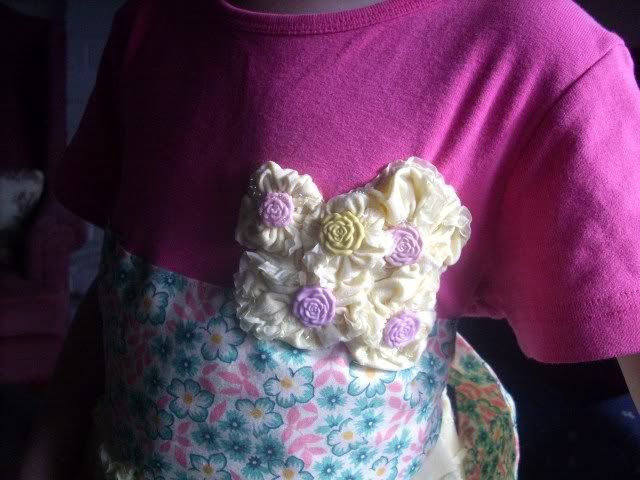
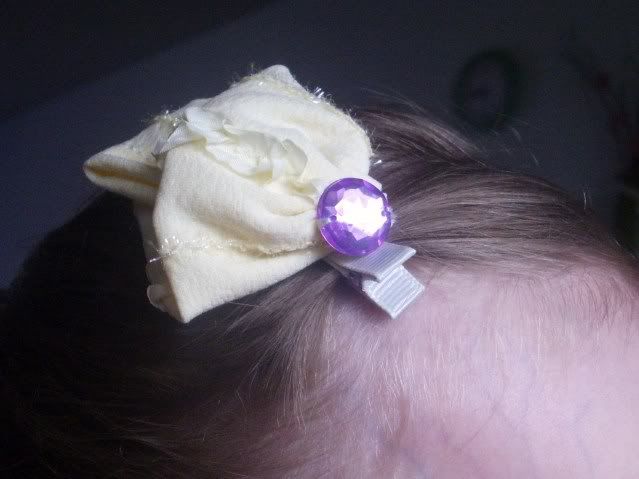
I made Zaylee's dress pretty similar to Audrey's dress. I sewed a gathered tube of the yellow curtain fabric to an old t-shirt, pretty basic. Then I added a wide strip of floral fabric as a sash, since the dress turned out too big around and made it look like Zaylee was swimming in it. With the sash tied, the dress looked much nicer. Then I had to cover where the t-shirt pocket used to be. I made several fabric yo-yo's and sewed them over the pocket, then added some pretty flower buttons. Zaylee's hair accessory is fabric flower hair clip with a jewel-look button.


Fabric yo-yo's to cover the old pocket

Simple flower clip


Here are my two girls together, with their sweet Easter dresses.


It's so fun to be able to sew up special outfits for my kids. :)

Tuesday, April 12, 2011

Easter Decor

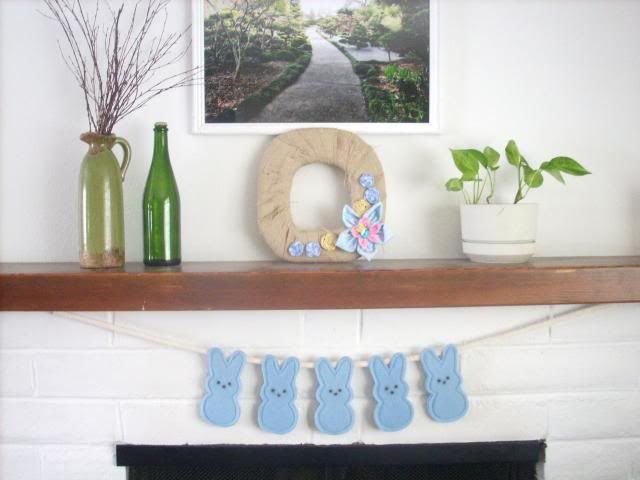
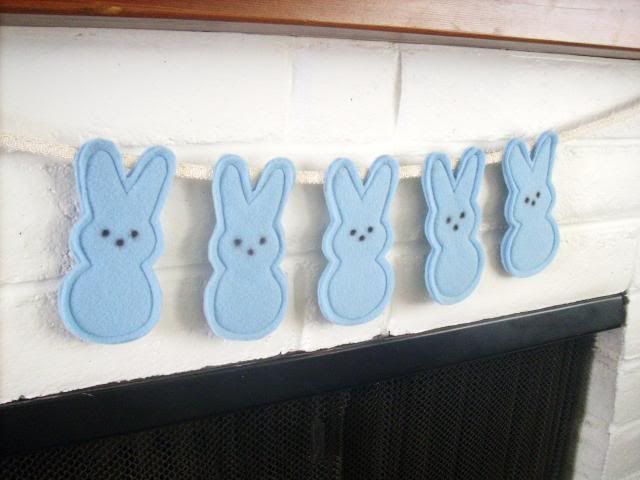
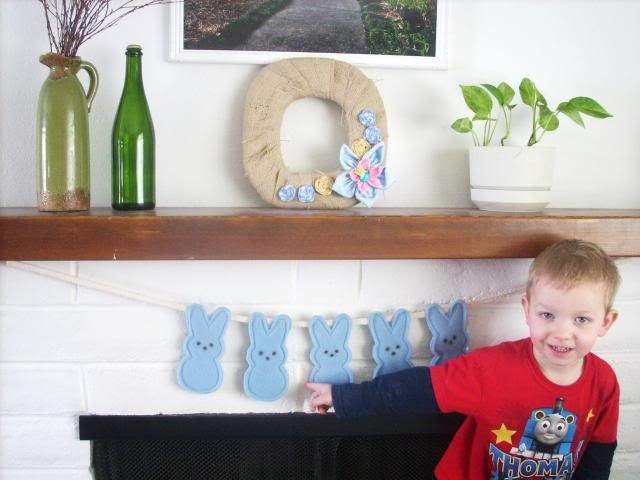
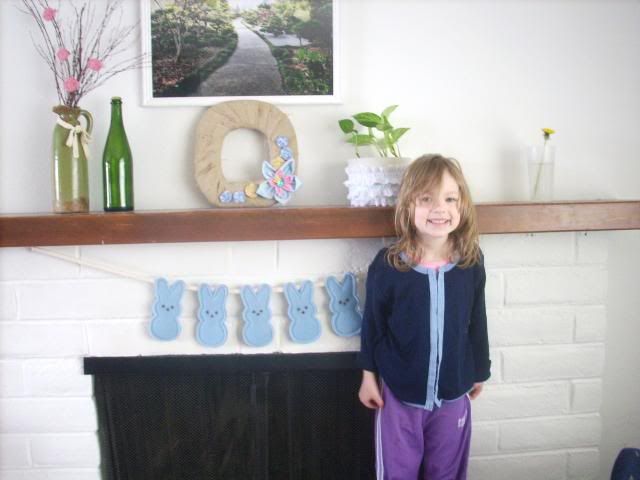
I've added to my mantle decorations. First, I made this adorable Peeps bunting. I used this tutorial and pattern from The Sweetest Occasion to make fun blue Peeps bunnies, then hot glued them to some lace ribbon. Now it looks so fun hanging from my mantle.


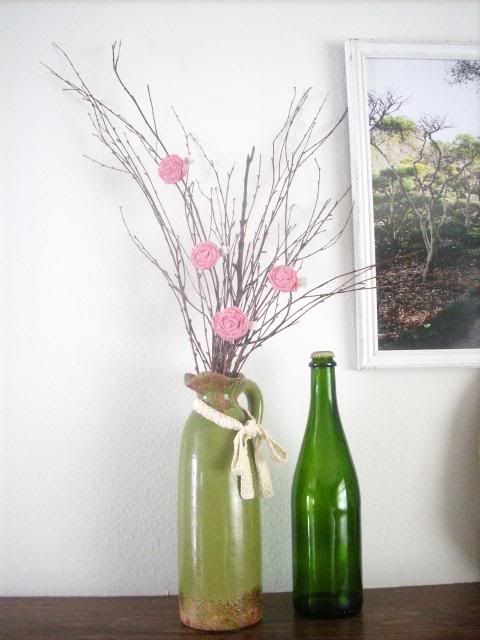
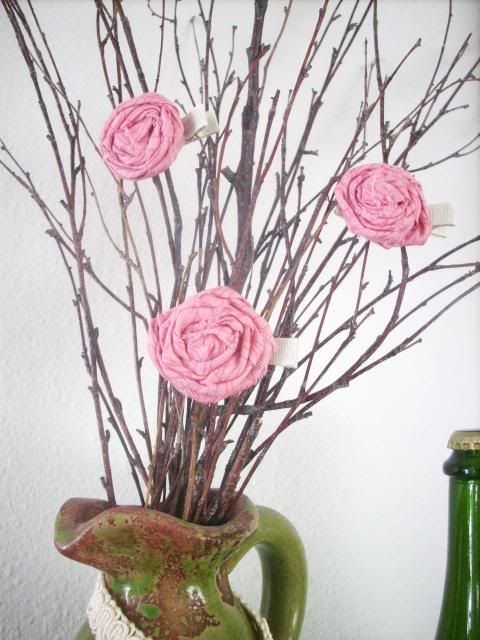
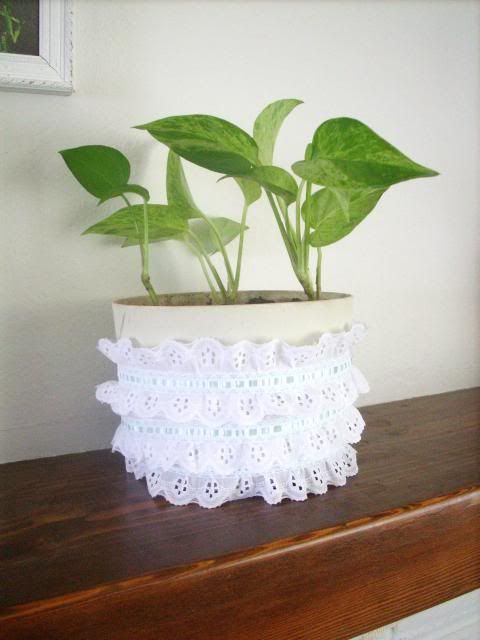
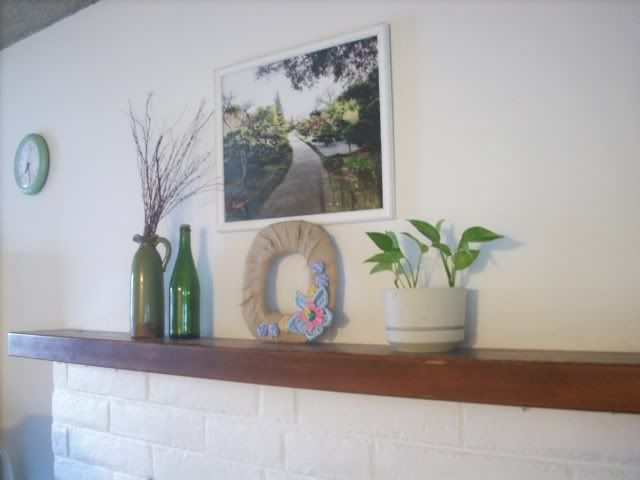
I liked the way the mantle looked in the above picture, and the kids were excited too, but I still felt it needed a bit more. So, in addition to the Peeps bunting and the Spring Wreath, I also clipped some rolled fabric flowers to my jug of branches, and wrapped lace around my potted plant.


Happy Spring!

Monday, April 4, 2011

Spring Wreath

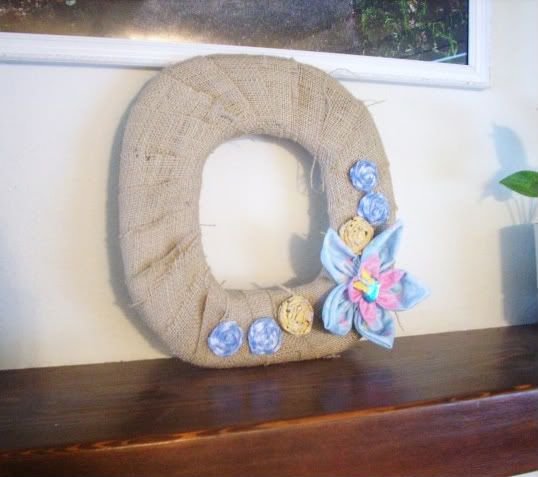
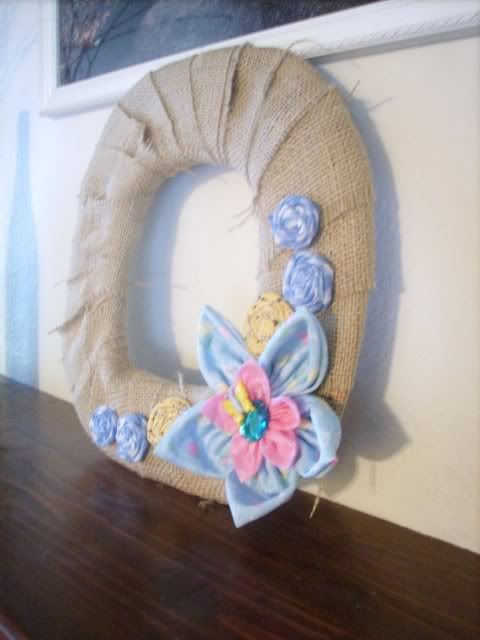
I'm joining the ranks of craft bloggers making spring wreaths. This is a simple wreath, but makes a pretty addition to my mantle.


I cut a wreath shape out of cardboard, then wrapped it in burlap strips. Then I glued on a small variety of fabric flowers, as well as a gem-look button and a butterfly button. Quick and easy!


Now, what other lovely spring decor can I add to brighten up my mantle? It could still use some dressing up.


Maybe a bunting? A few little pictures, some fabric eggs or flowers? Ooh, I love imagining the possibilities.

Saturday, March 12, 2011

Hanging Fabric Baskets

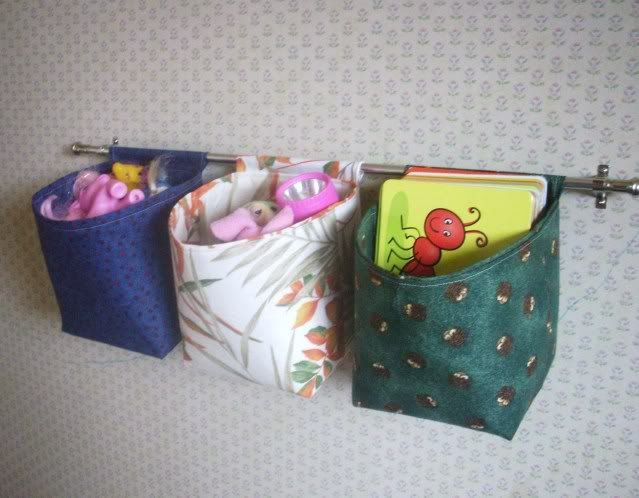
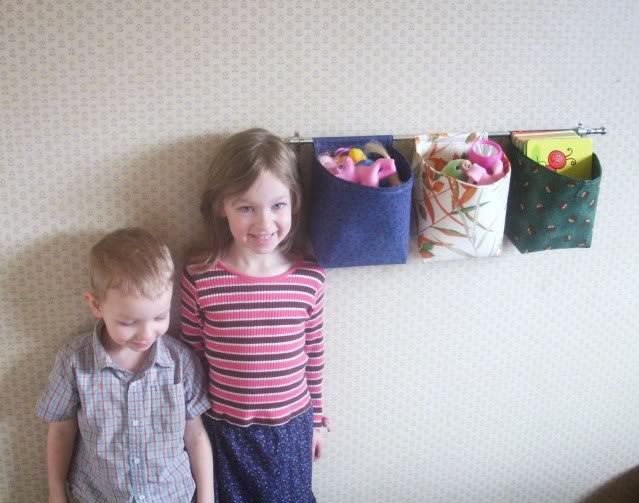
Lately I've been trying a variety of ways to straighten up the kids' toys. We have big plastic boxes, store bought canvas bins, shelves, etc. But the toys are still kind of all over the place. At our house, cleanliness is a work in progress. I wanted to add another storage option for toys, hanging baskets for each child's room. So I found this tutorial and got started. I used the measurements for large baskets.


This was my first time working with Pellon, and I really like it! It's easy to iron on, and works so well to stiffen the fabric.


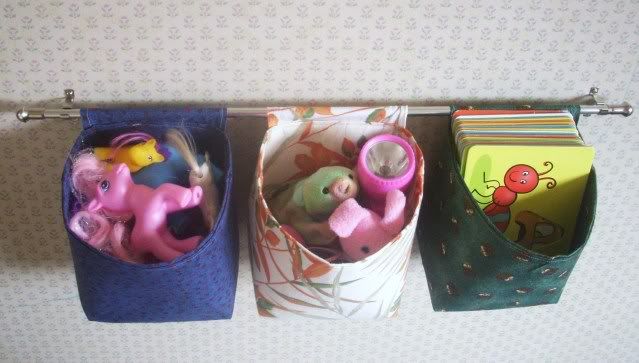
These are the baskets I made to hang in Zaylee's room, filled with her choice of toys - ponies on one side, alphabet cards on the other, and random stuff in the middle. I plan on making another set for Thomas' room. Both kids are really excited about these neat baskets that hang on the wall!

Tuesday, March 8, 2011

Sewing Apron

At some point I need to rearrange my sewing/crafting space. Currently, my sewing machine is on a small table in one corner of the family room, and I do my laying out, cutting, pinning, etc. in other areas of the family room. Not ideal, but that's how it is right now. It means that, when I am sewing, I go back and forth all over the room. I don't mind the exercise, lol, but I was having problems with leaving my stuff in one area and needing it in another. Mostly it's my scissors, straight pins, and measuring tape.

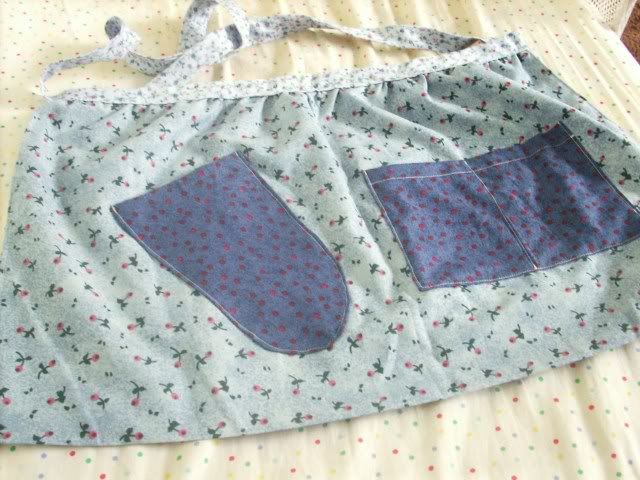
So I decided to solve the problem by making a sewing apron, with pockets for all the things that I tend to need in all my various sewing/prep areas.


I didn't take pictures of the process, but it was fairly simple. I cut a large rectangle of fabric, then hemmed the sides and bottom. I sewed on pockets for scissors, pin cushion, and tape measure. Then I gathered the top and sewed on some (homemade) bias tape as the waist band and straps.


This should make my sewing projects just a little easier - no more running back and forth because I've forgotten my pin cushion.