Showing posts with label Headbands. Show all posts

Tuesday, November 1, 2011

Halloween Costumes

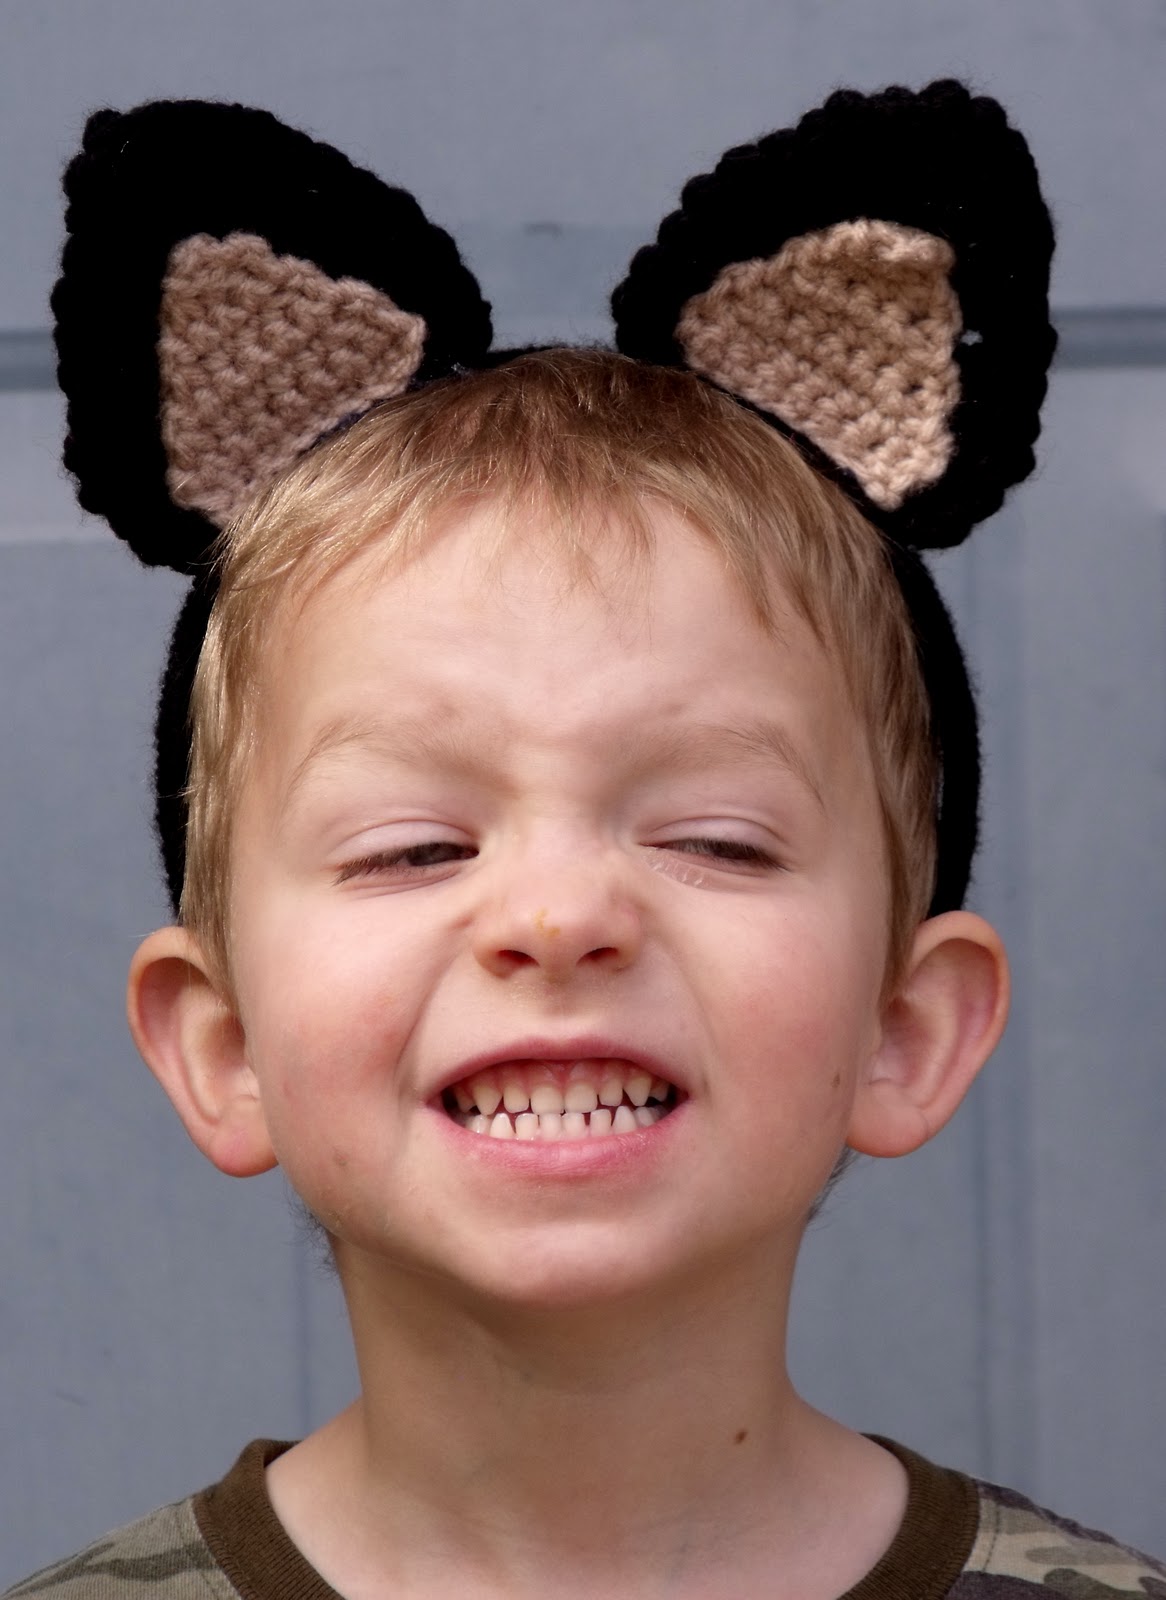
Along with the cute little crocheted ears I made for the kids, I also had to make matching costumes. I'm all about doing things simple and inexpensive. We had a prowling kitty cat, and swooping bat, and a fluttering butterfly, and I was able to crank out all three costumes in three days.


The Cat

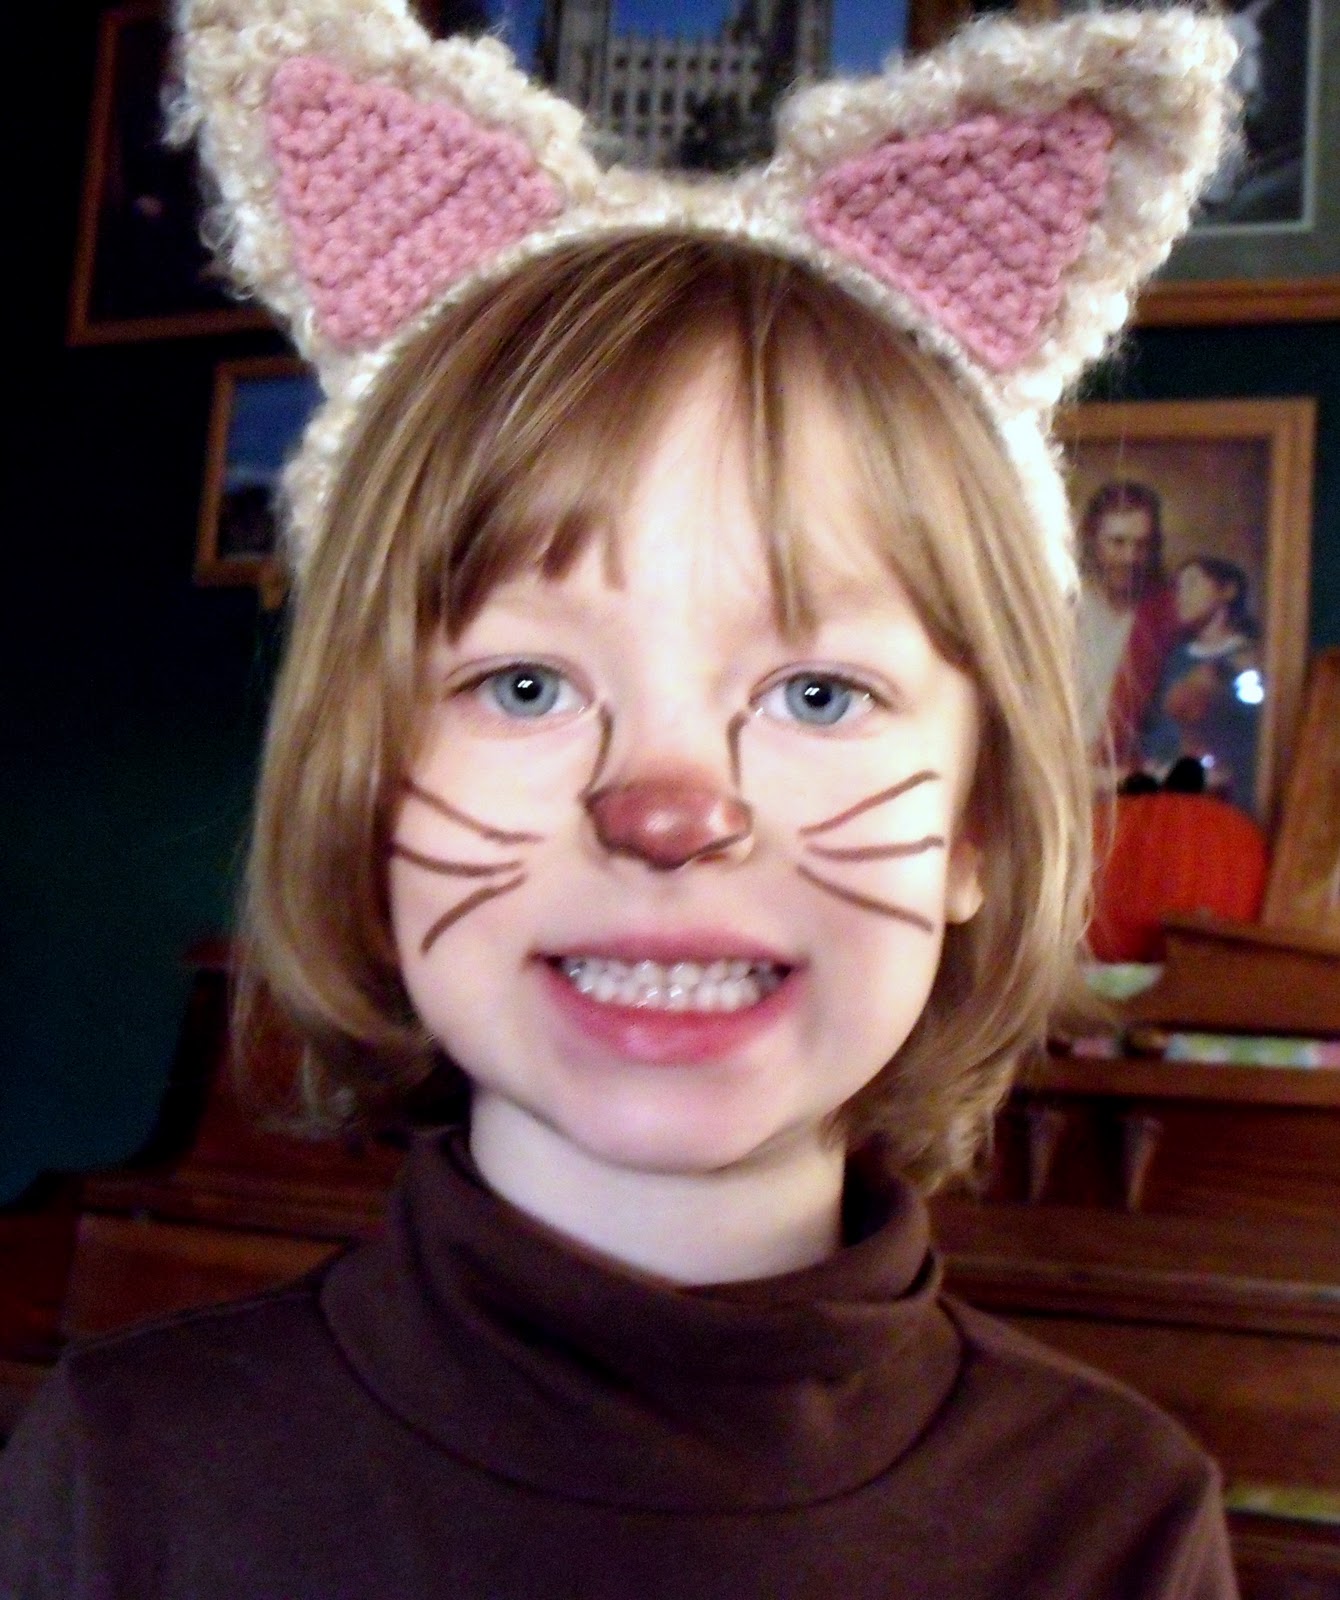
For Zaylee's cat costume, I crocheted a long, fuzzy tail and sewed it onto the back of some brown sweatpants. Besides the ears, the tail is her favorite part of her costume, and mine too! It's a long tube of double crochet, in Lion Brand Homespun.


Next I crocheted a large oval. This I hot-glued onto a brown turtleneck to act as the fuzzy belly. Add the ears and some kitty makeup, and the cat costume was complete.


The Bat

For Thomas' bat costume, wings were an absolute necessity. I used the basic instructions given at Alphamom (which I found on Pinterest, and can thus link this post to the pin-did challenge at The Modern Marigold, yay).


I did alter it a bit - I didn't use boning because they didn't have it at Wal-Mart when I did my quick costume supply shopping trip. Instead, I made the wings out of two layers of fabric, one of which was somewhat stiff, and that way the wings supported themselves and boning was unnecessary. Also, to attach the wings to the shirt, I cut out the side seams and resewed them with the wings, so now they're actually "built in" to the shirt. Again, I used a basic turtleneck and sweatpants as the base for the costume.


Ears and makeup, and my little bat was ready to fly.


The Butterfly

For Audrey's butterfly costume, all I had to do was add wings to a black turtleneck and pair it with black pants. And make an antenna headband that she wasn't too fond of wearing.


The wings are just two layers of fabric, with some interfacing to keep them stiff. I used a zigzag stitch to emphasize the shape of the wings. Then I sewed them onto the shirt. If I had it to do again, I would have just glued or pinned them on, because getting the shirt up onto the sewing machine enough to sew the top of the wings was really hard! And I would have used a bent clothes hanger or something to help the wings keep their shape - even with the interfacing they flopped forward too much and didn't really hold their shape well. But still, for a last minute project, it turned out okay.


Fun costumes!

Friday, October 28, 2011

Crochet Critter Ears

My kids want to be animals for Halloween this year. Thomas has been insisting on being a bat for weeks. Zaylee recently decided she wanted to be a cat.

Bats and cats have ears.

Hence, this post.


I wasn't really in the mood for sewing last night, but I knew I needed to work on the costumes, our Halloween party is on Saturday. So I grabbed yarn and hooks and came up with these cute little critter ears. The black ones are bat ears for Thomas, and the light brown ones are cat ears for Zaylee.

And I even wrote down the pattern for the ears so I can make them again and again, and so I can share it with you!


Critter Ears
Materials:
Thick, fuzzy yarn for outside of ear (I used Lion Brand Homespun), or you can use two strands of worsted weight held together
Worsted weight yarn for inside of ear
Size K (6.5 mm) crochet hook
Size H (5 mm) crochet hook
Headband
Glue gun

Special stitch - sc2tog. (Insert hook into next stitch, yo, draw up a loop) 2 times, yo, draw through all three loops on hook.

For large outer ear, use size K hook and thick yarn. For small inner ear, use H hook and worsted yarn. Both sizes use the same pattern.

Make 2 large and 2 small.
Ch 9.
Row 1 - Sc in 2nd ch and each across (8 sc)
Row 2 – Ch 1, sc in each across
Row 3 – Ch 1, sc2tog, sc in next 4, sc2tog
Row 4 – Ch 1, sc in each across (6 sc)
Row 5 – Ch 1, sc2tog, sc in next 2, sc2tog
Row 6 – Ch 1, sc in each across (4 sc)
Row 7 – Ch 1, sc2tog twice
Row 8 – Ch 1, sc2tog
Fasten off, weave in edges.

For the bat ears, I added a round of sc all the way around the outer ear. This is optional, it just smoothed out the edges of the ear. This was unnecessary on the cat ears because of the fuzziness of the yarn.

Use hot glue to attach small inner ear to large outer ear.

Wrap matching yarn around a headband, using hot glue to secure it periodically so it won't come unwound. Then glue the ears onto the headband.

Monday, April 25, 2011

Easter Dresses

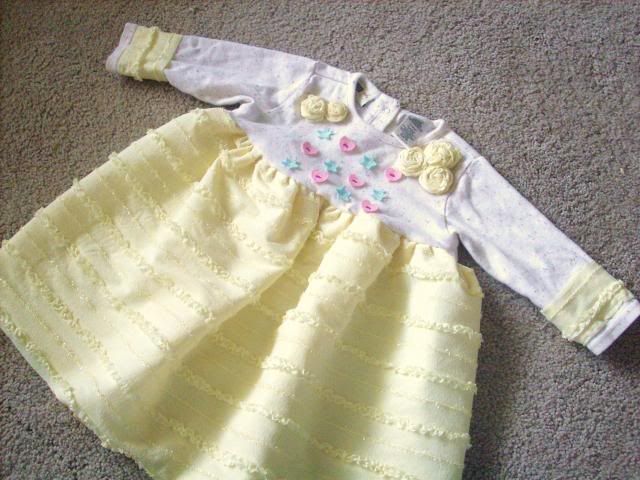
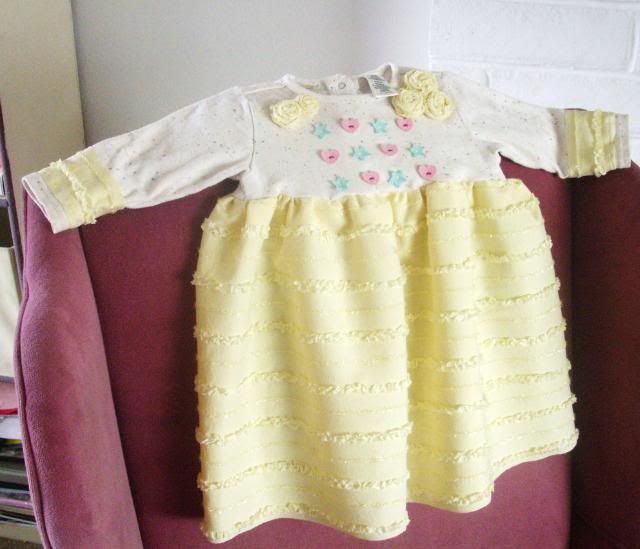
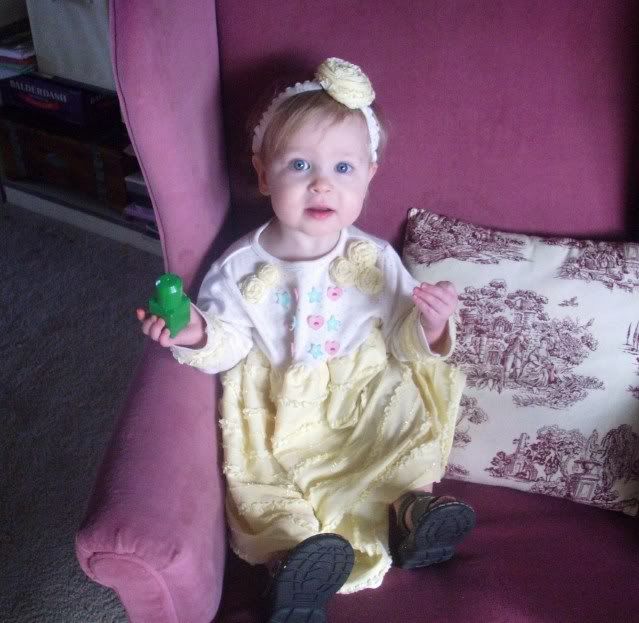
I was given some sweet, ruffly yellow fabric about a month ago. Even though it came in the form of curtains, I knew that I wanted to use it to make Easter dresses for my girls. I started with Audrey's dress. Formal, fancy dresses are fun, but I kind of wanted to go a bit more casual.


Ruffly Flowery Cuteness!

 
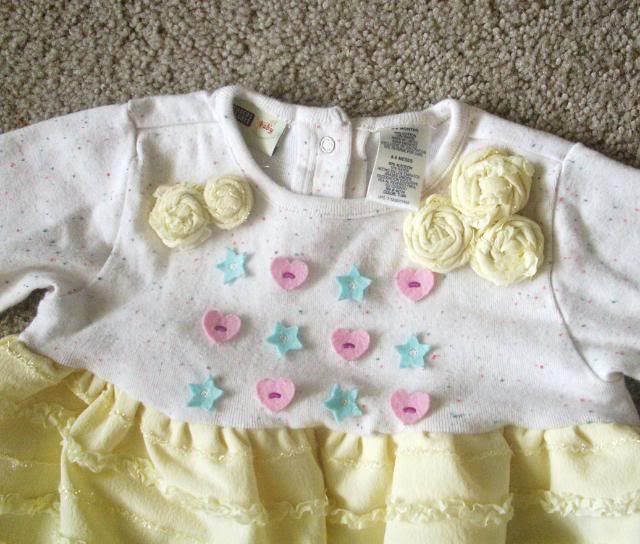
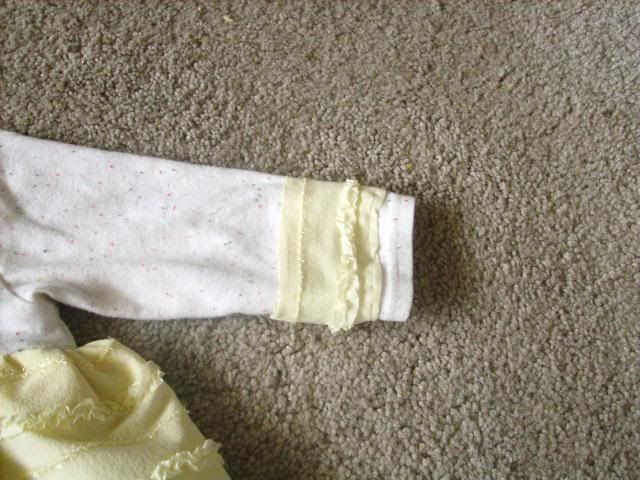
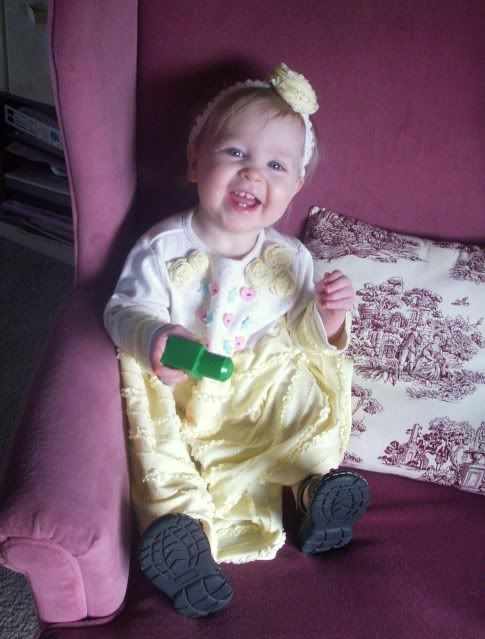
I don't have pictures of the process, but here's what I did: I cut the fabric into a large rectangle, sewed it into a tube to make the skirt, and gathered the top. Then I sewed the skirt to one of Audrey's old shirts. There were stains on the bottom, which I cut off, and there were stains on the collar and the sleeves, which I covered with rolled fabric flowers and cuffs.


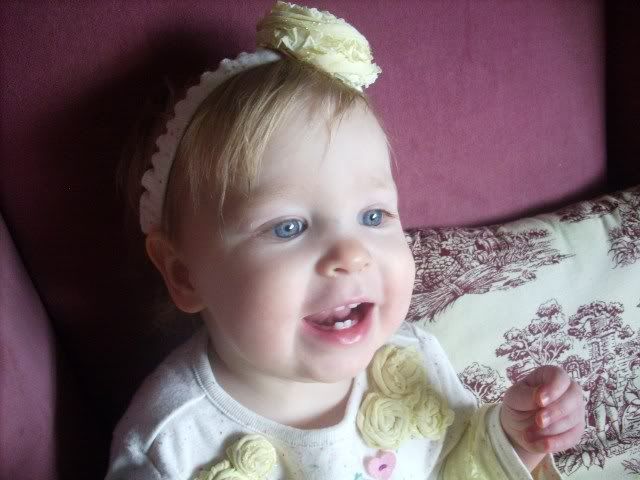
Of course, no Easter dress is complete without some sort of head gear, such as a special hat or hair clip. I chose to make a headband. For the band, I sewed a small tube out of some of the fabric I cut off of the bottom of the shirt, then put in elastic. Then I used a long strip of the yellow ruffly fabric to make a great big flower. It's the biggest rolled fabric flower I've ever made, and I love how it looks on the headband!


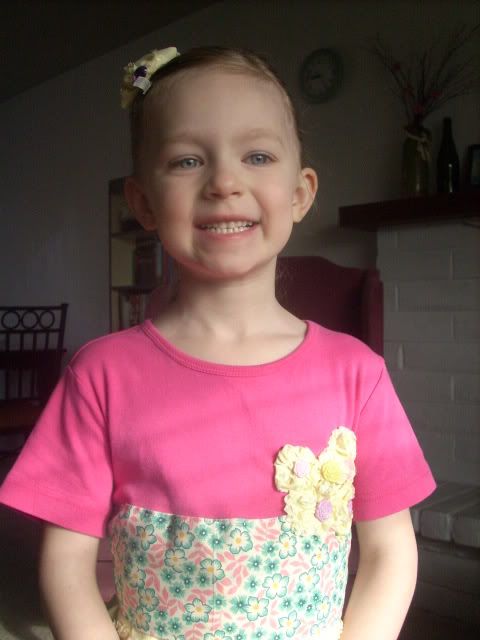
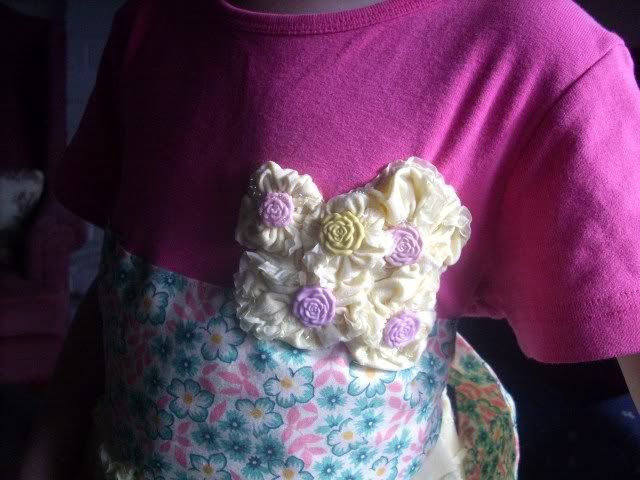
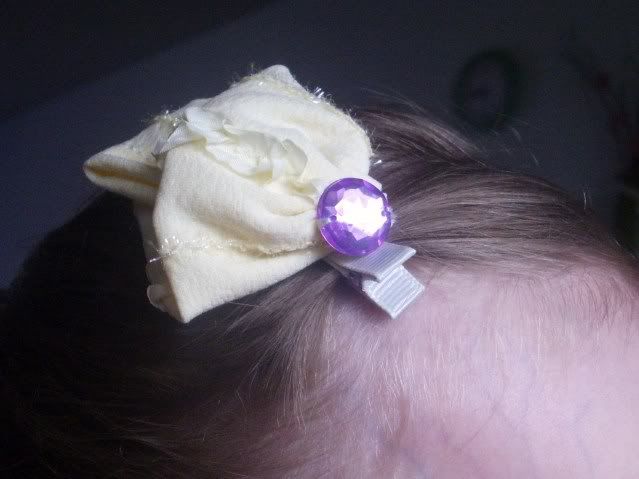
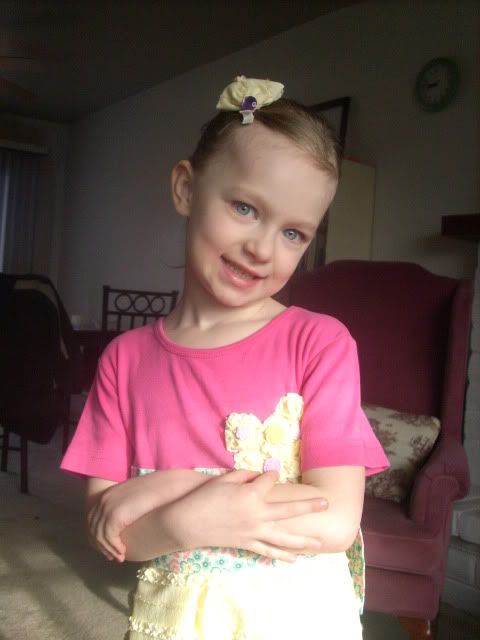
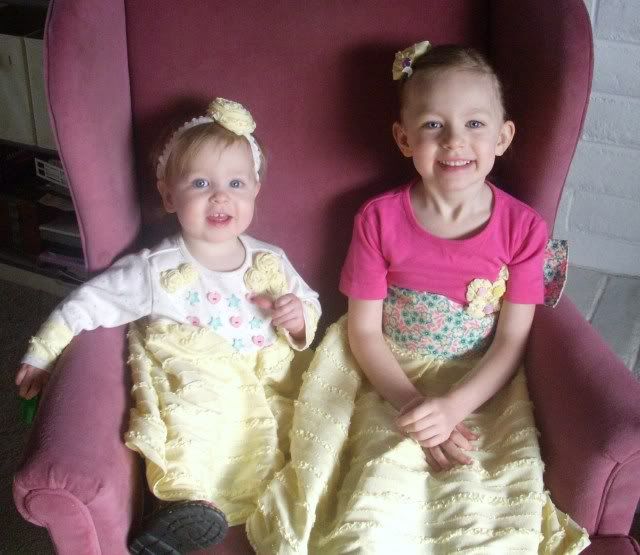
I made Zaylee's dress pretty similar to Audrey's dress. I sewed a gathered tube of the yellow curtain fabric to an old t-shirt, pretty basic. Then I added a wide strip of floral fabric as a sash, since the dress turned out too big around and made it look like Zaylee was swimming in it. With the sash tied, the dress looked much nicer. Then I had to cover where the t-shirt pocket used to be. I made several fabric yo-yo's and sewed them over the pocket, then added some pretty flower buttons. Zaylee's hair accessory is fabric flower hair clip with a jewel-look button.


Fabric yo-yo's to cover the old pocket

Simple flower clip


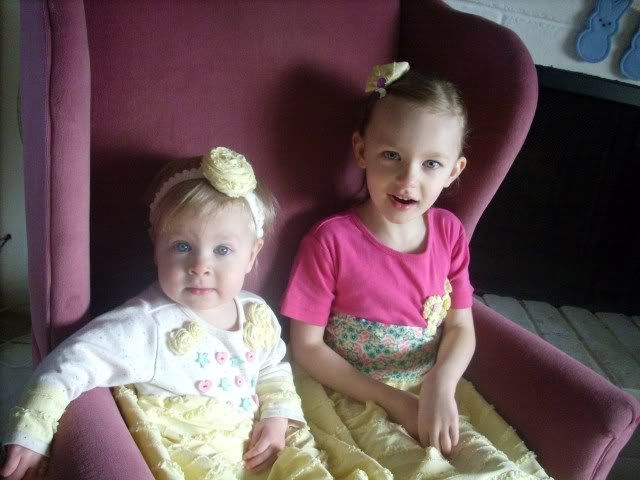
Here are my two girls together, with their sweet Easter dresses.


It's so fun to be able to sew up special outfits for my kids. :)

Saturday, April 17, 2010

Headbands

Tie-in-the-back headbands with off-center flowers. Keep your hair up and out of your face in style.