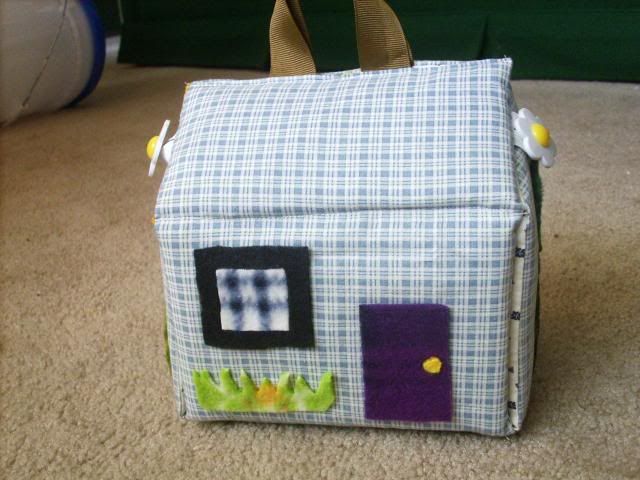
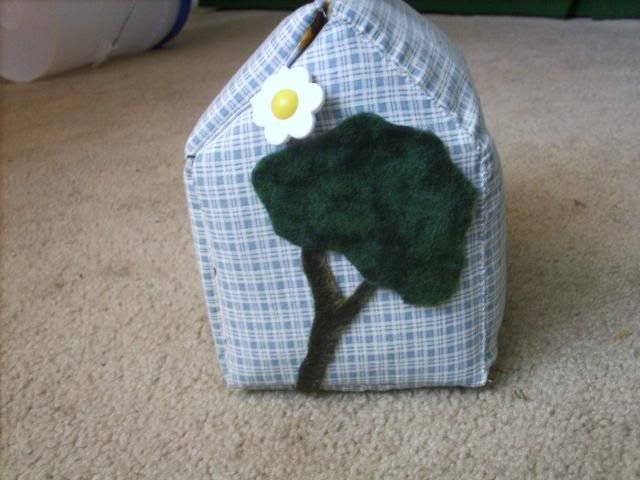
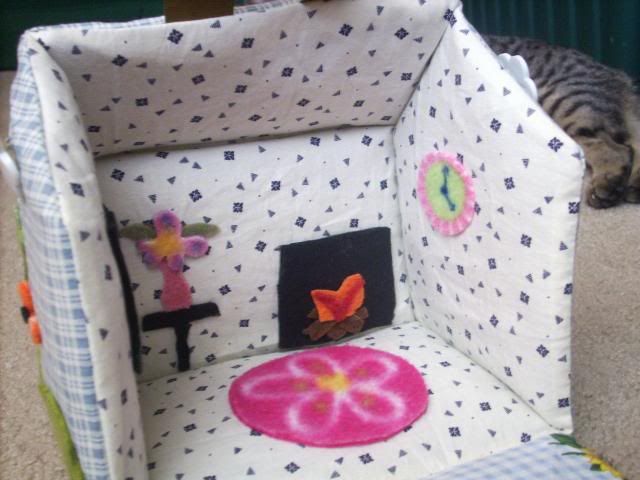
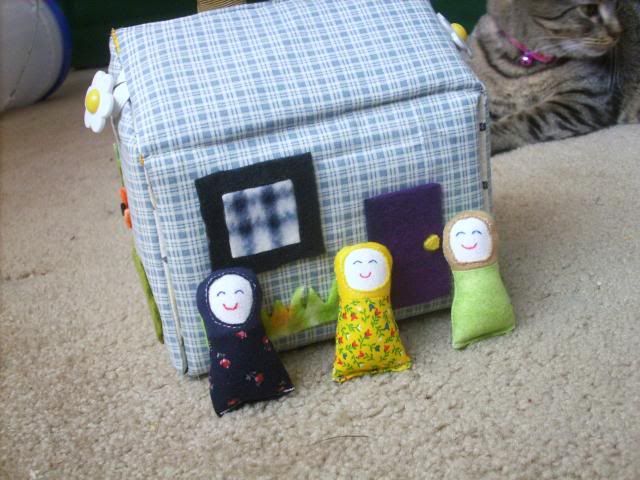
I made a cute little fabric dollhouse for Zaylee for Christmas (used this tutorial from UK lass in US), and needed some little dolls to go with it. I originally planned on making wooden spool dolls, but Wal-Mart didn't have wooden spools, and I was too impatient to try anywhere else. So I decided to go a different route.
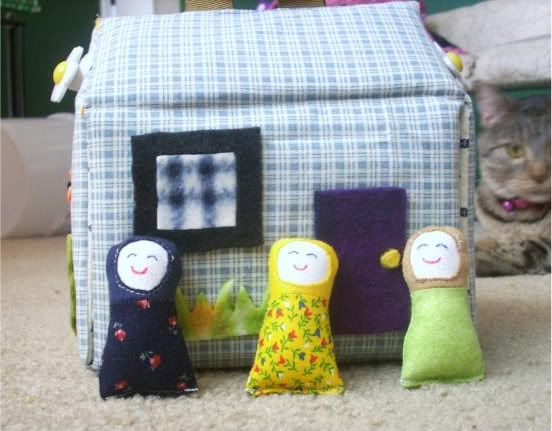
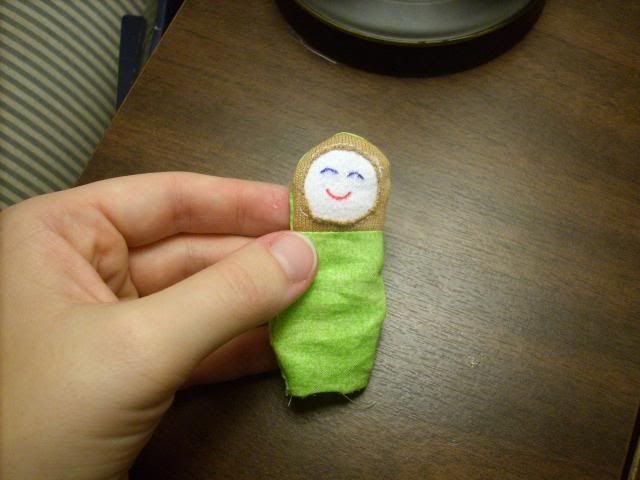
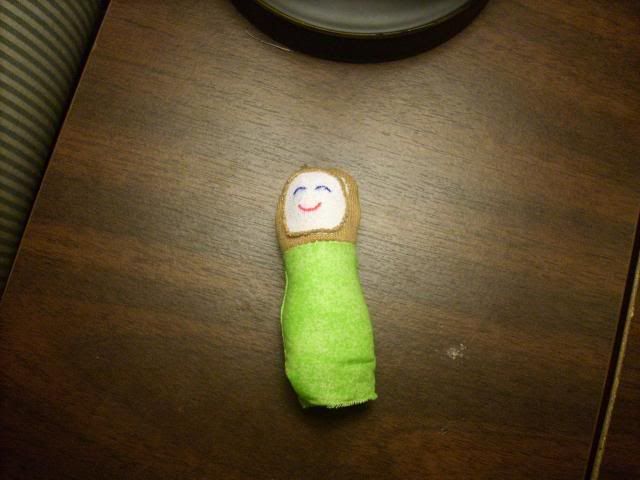
I created these cute little soft dolls that resemble Russian matryoshka dolls. They're so little and cute, only about 3 inches tall. They fit perfectly in the little dollhouse.
And I'm going to show you how to make them!
You'll need:
Pattern pieces
Main fabric - 1 6x4" piece (quilting cotton with a fun pattern)
Coordinating fabric for the head kerchief - 1 3x3" piece (knit so the edge around the face won't fray)
Fabric for face - 1 3x3" piece (flannel or quilting cotton)
Small amount of poly-fill
Markers to draw face
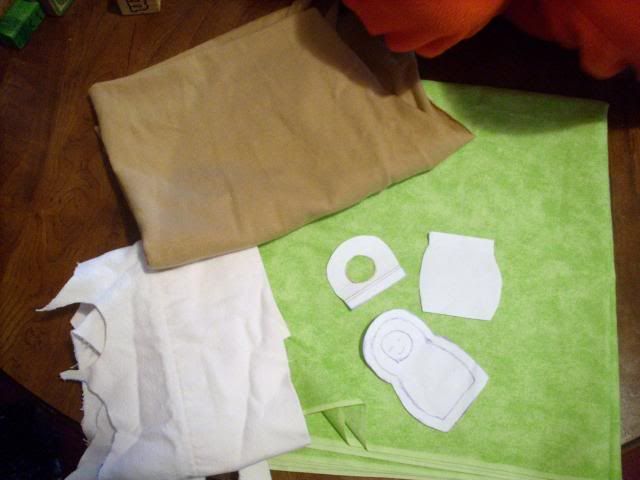
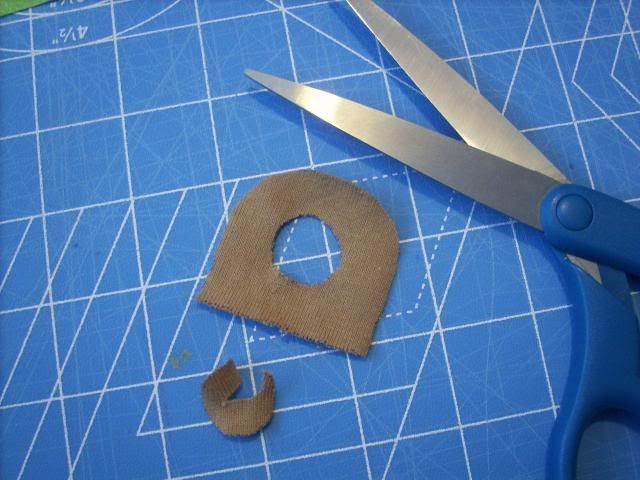
 The hardest part about this will be the pattern pieces, I'm afraid. I'm not tech-savvy enough to make a printable page with the pattern pieces. So maybe just freehand it? Anyway, this is what my pieces look like (I couldn't even scan them, I held them up to the screen and traced them). The back piece is 3 3/8 inches tall, and 2 1/4 inches wide at its widest. Skirt is 2 1/4 inches tall and 2 1/4 inches wide. Head is 1 3/4 inches tall and 1 7/8 inches wide. The hole in the head piece is 3/4 inch diameter, with the top of the hole 1/2 inch from the top of the head piece.
Clear as mud? Okay, let's get started!
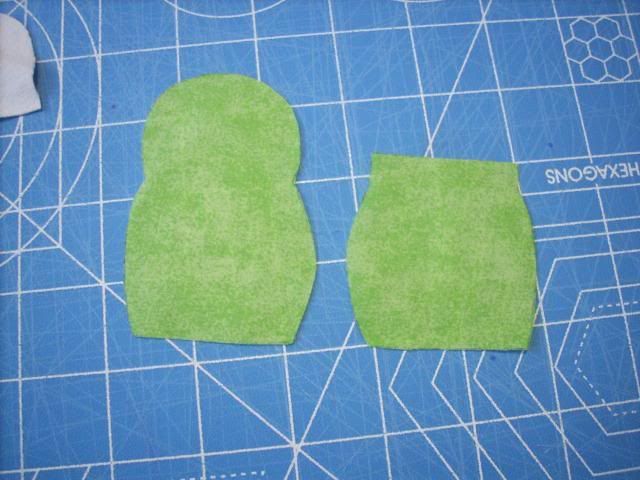
Cut one back piece and one skirt piece from the main fabric.
Cut one head piece from the knit fabric and one from the face fabric. Trace hole from the head pattern onto the knit piece.
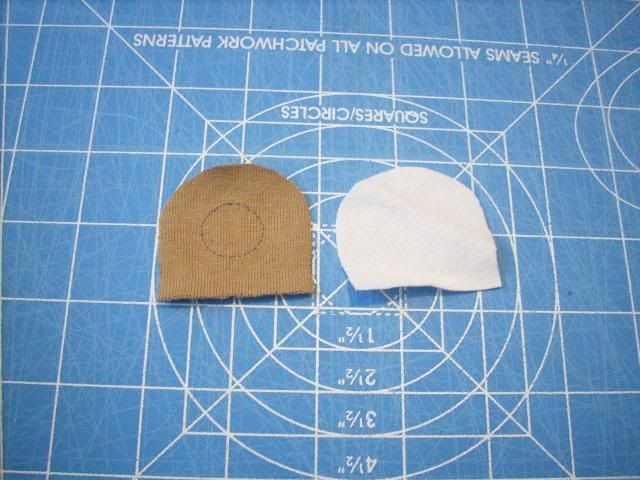
Cut out face hole.
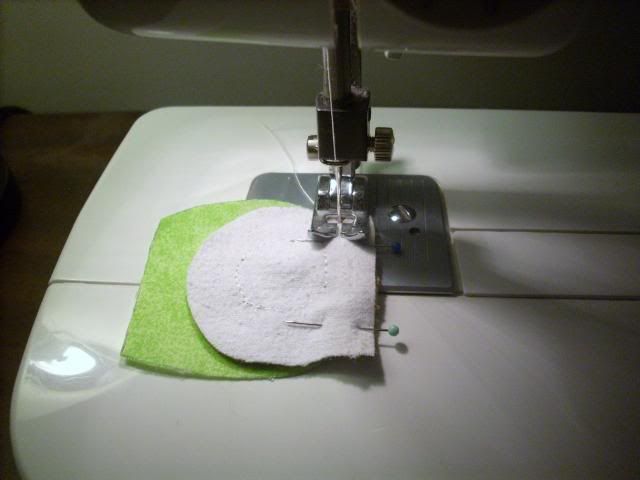
Pin face and kerchief pieces together, with the right side of the face fabric facing the wrong side of the kerchief fabric - you want to see the face through the hole in the kerchief. I don't have the pieces pinned in this picture, but you get the idea.
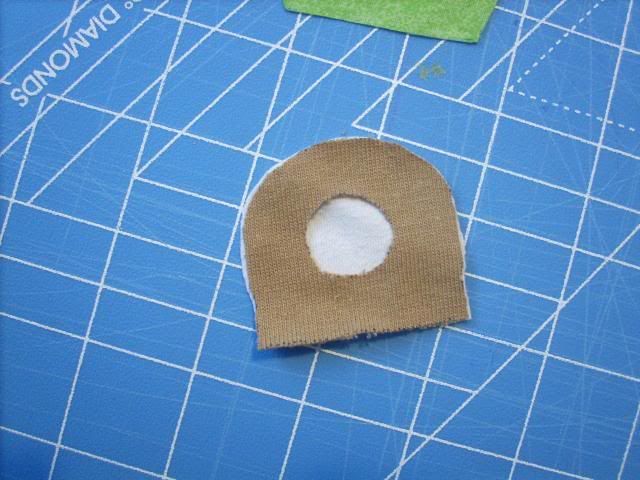
Carefully sew around the face hole.

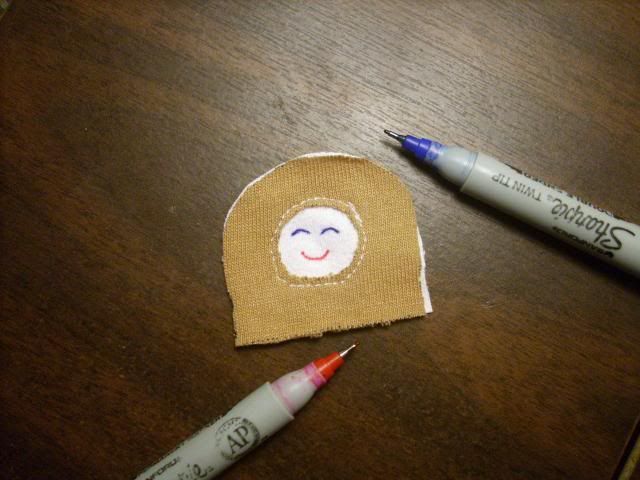
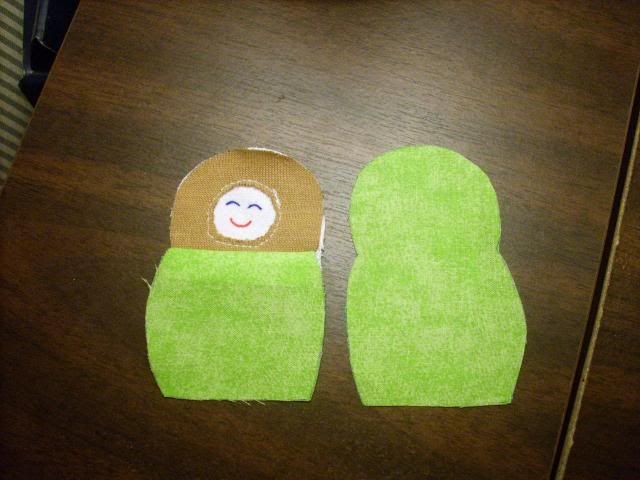
Draw a cute face onto your doll. I used Sharpie pens, you could paint or embroider it on if you prefer.
Pin the skirt piece to the head piece right sides together, and sew (1/4 inch seam).
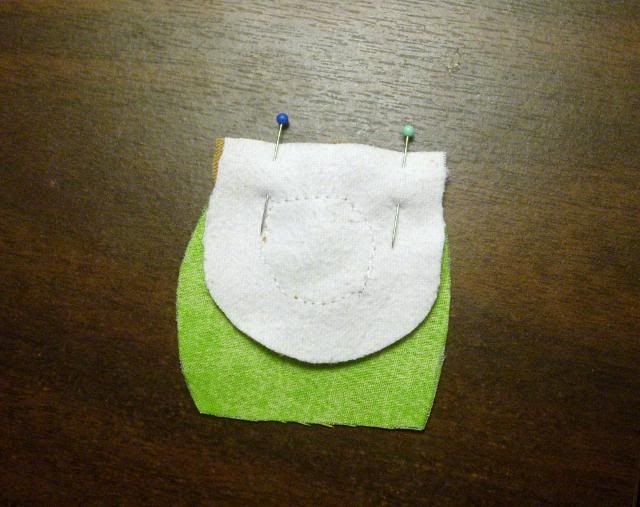
You should now have the complete front of the doll.
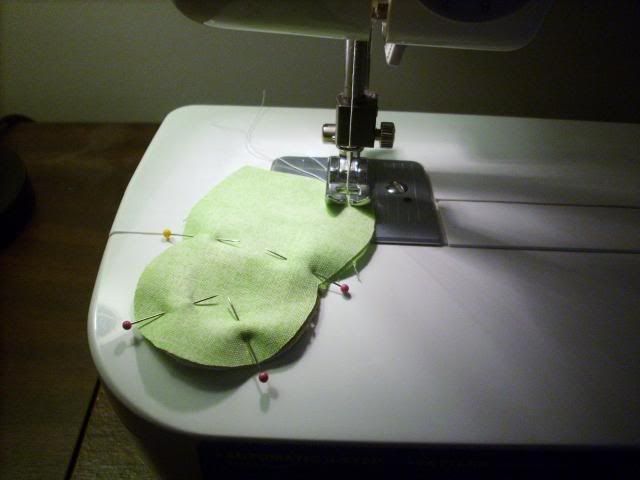
Now put the front and the back of the doll together, right sides together, and sew around the sides and top (1/8 inch seam). Leave the bottom open for turning.
Turn the doll right side out. You can use a pencil or a chopstick to help.
Stuff firmly with poly-fill.
Tuck the bottom edges in, and sew shut. You can hand sew this, or use the sewing machine, depending on how you want it to look.

You're done!
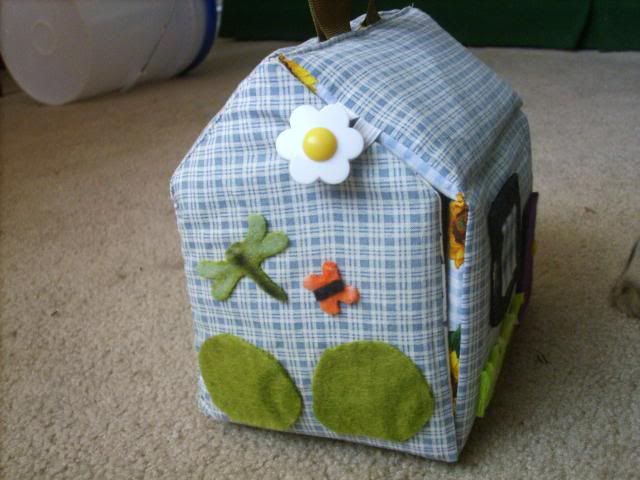
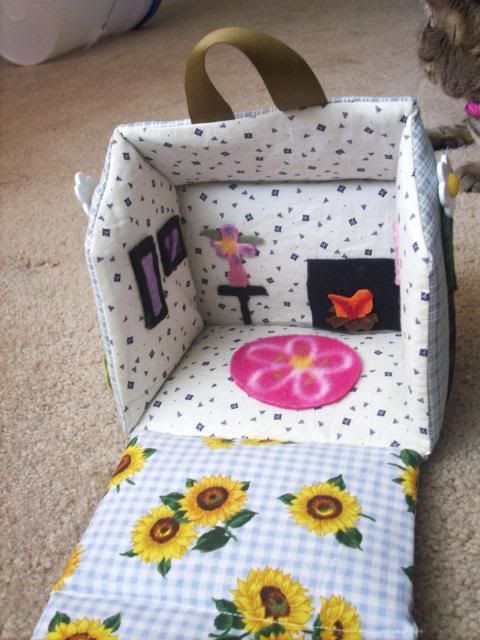
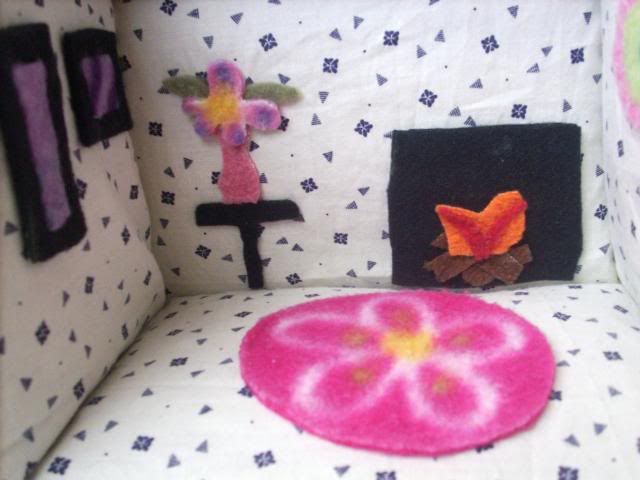
Now some pictures of the dolls and their dollhouse:
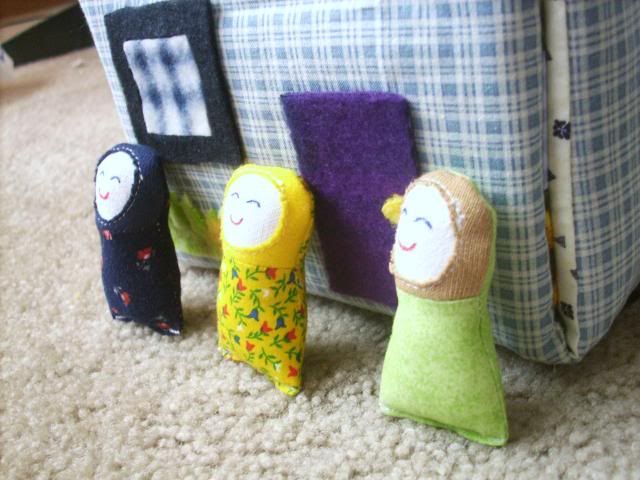

I got a lot of inspiration for decorating my dollhouse from this flickr group. Check out the cuteness!