The first one I made was for Jeff. It was sort of my experimental cover. I used this tutorial from One Pearl Button, to make a book-style cover. For Jeff's I pretty much made it according to the measurements and directions given. It turned out okay, and Jeff is quite satisfied with it. But there were a couple things I wanted to change about it when I made mine.
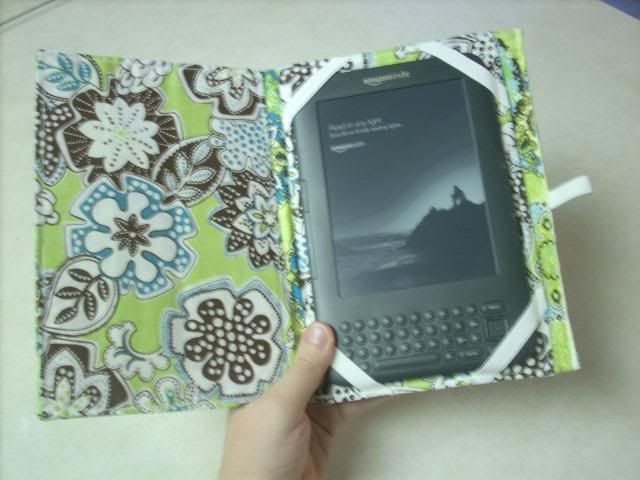
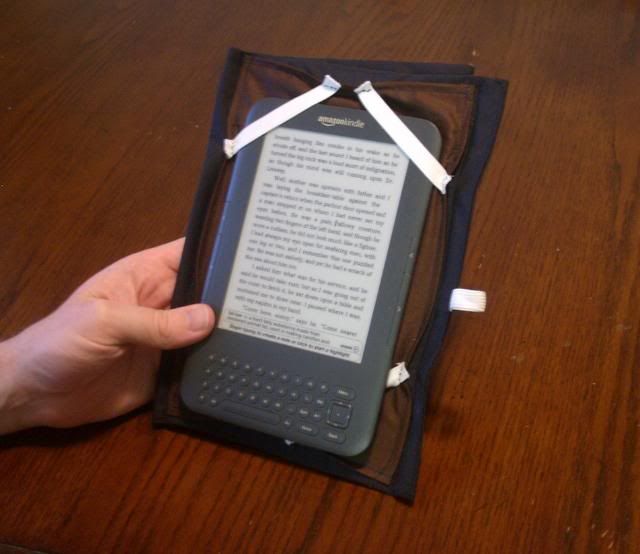
Here's the cover I made for Jeff. It holds the Kindle in nice and snug, and will be great to protect it when he takes it to work. But if you look closer, you'll see that the elastic covers the 5-way controller on the bottom right, and some of the letter keys on the bottom left.
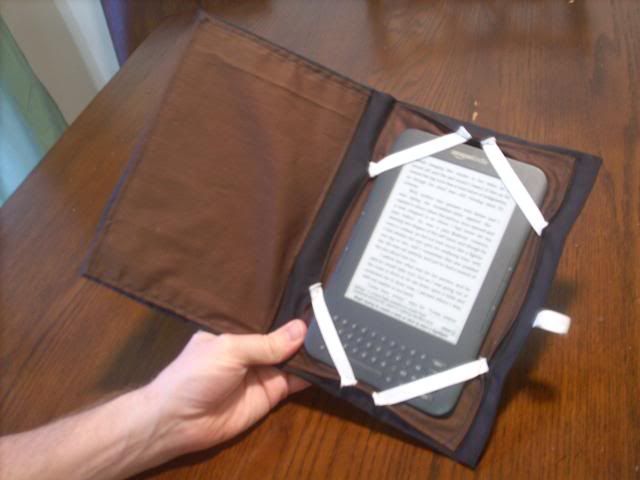
Jeff doesn't mind this, and just pulls the Kindle out of the bottom elastics when he needs to use the buttons.
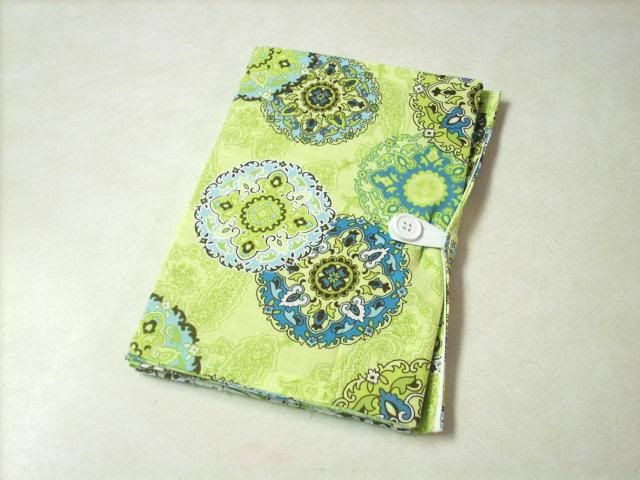
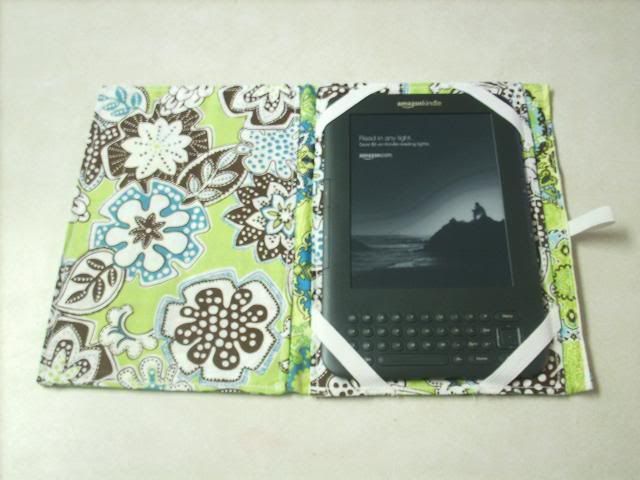
For my cover, I changed things around a little bit, though still used the basic premise given by One Pearl Button. And I used funner, brighter fabric than I did for Jeff's. :)
Changes I made:
1) I made the body of the cover smaller. Instead of cutting the body fabric 15" by 10.5" as per the tutorial, I cut mine 13" by 9.25". I wanted a snugger fit, a smaller and more streamlined cover.
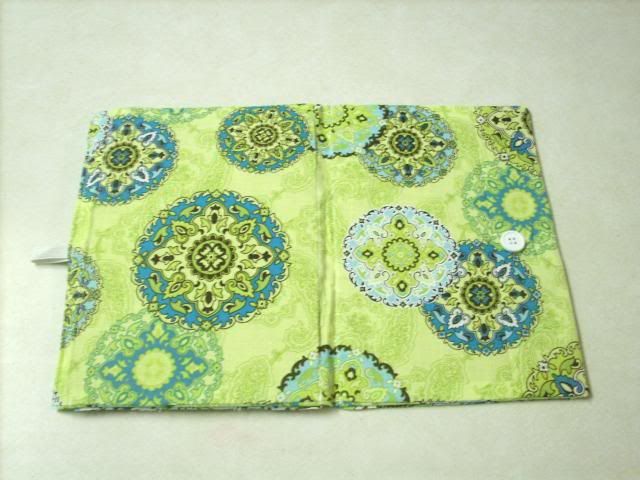
2) I hemmed my accent fabric to be exactly equal to the size of the cardboard.
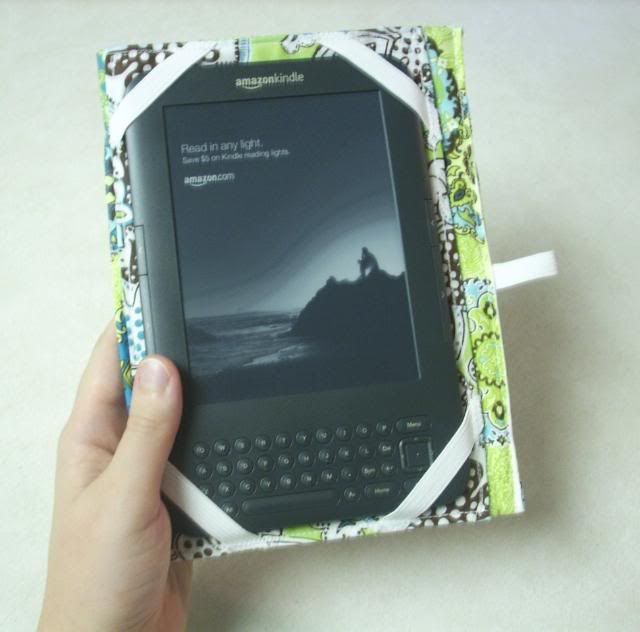
3) I cut 2.5" lengths of elastic, and machine-stitched them to the corners of the accent fabric before attaching it to the body fabric. I found this easier than hand-stitching them on afterward. Also, the smaller length of elastic doesn't cover the 5-way controller, so I can keep my Kindle completely tucked into its cover even when I want to play games or do anything that needs all those buttons.
4) When I sewed the body together, I made the seam line up exactly (as much as possible) with the outer edges of the accent fabric. This way, the cardboard pieces fit snugly and perfectly.
 |
| You can see here that the elastic doesn't cover the buttons so much, and that the seam of the main body lines up with the edge of the accent fabric. |
Other than these changes, I followed the tutorial as written.
More pictures of my Kindle cover, which I have totally fallen in love with: