Sunday, September 25, 2011

Grecian Maxi Dress

I've wanted to make a maxi dress for a while now. You know, before they go out of style or something. I hope that won't be for quite a while, because now that I've made a maxi dress, I have fallen in love! This is about the most comfortable dress I've ever worn, and it was so easy to make!


I used DIY Maternity's tutorial for the Grecian Maternity Maxi Dress, from a list of maternity tutorials I have pinned. No, I'm not pregnant, this dress is fantastic for regular wear as well as maternity. So I'm just calling mine a Grecian Maxi Dress. But it is nice to know that the next time I have a pregnant belly, I'll still be able to wear this.


The fabric is a fashion knit from JoAnn's. I wouldn't have bought it if it wasn't on sale for 40% off - even so it was a splurge for me at almost $8 per yard. But the print, the feel, the drape were all so absolutely wonderful that I went for it anyway.


This is one of the easiest dresses I've ever made. It's simply a fabric tube with elastic casings along the top and under the bust, then a hem on the bottom. It can be worn with a belt or sash, or as is.


Super comfortable. I love my new dress.

Linking to the pin-did challenge at The Modern Marigold.

Friday, September 23, 2011

Princess Doll Bed

Zaylee has started a Language Arts unit on the story of Sleeping Beauty, and I thought it would be a fun additional activity to create a special Sleeping Beauty doll and bed to go along with this unit. Now Zaylee can act out her favorite part of the story to her little heart's content.

For the bed, I was inspired by this webpage. I drew the sides, headboard, footboard, and bottom of the bed on pieces of a large cardboard box, then cut them out (boy, cutting out fancy shapes from cardboard is hard work!). Then I glued scrapbook paper on each piece to make them pretty, and hot glued them all together. It made a sturdy little bed.


Next I sewed up a simple mattress, and a little doll-sized pillow.


Then came the fun part. Zaylee and I got to decorate her new doll bed with acrylic jewels, to make it fitting for a royal princess.


Together we chose a pretty fabric to make a blanket for the bed, so Sleeping Beauty wouldn't get cold. P.S. Isn't this the most gorgeous flannel you've ever seen? DAMASK FLANNEL. How totally awesome.


Lastly, we made a simple Sleeping Beauty doll to go in the bed. I did the sewing, while Zaylee chose the fabric for the dress and helped to stuff the doll.


Thanks to this fun and simple craft, this has become Zaylee's favorite unit so far! We're both excited to do more school crafts together.


Linking this post to:

Feelin' Feminine Friday at The American Homemaker

Thursday, September 1, 2011

A New Kindle Cover

As I lay awake late last night (wishing I hadn't made and consumed a microwave mug cake right before bed) I came up with plans to make a new cover for my Kindle. I really like the first one I made, but there were improvements I wanted to make. The button loop on the side was a little annoying, and I wanted the elastic corners to be more snug and do a better job at holding the Kindle in place. Plus I wanted a bit more padding for the front and firmer board for the back.

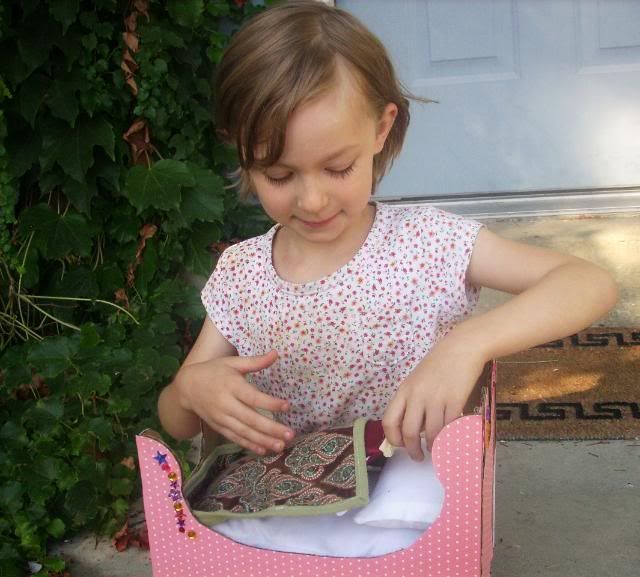
So I put all those wants and ideas together and came up with this lovely little thing:


I used a nice sturdy cardboard for the back, and batting for the front. The flap in the front can be moved to the back to open the cover, and to hold the padded part in place while I'm using the Kindle.

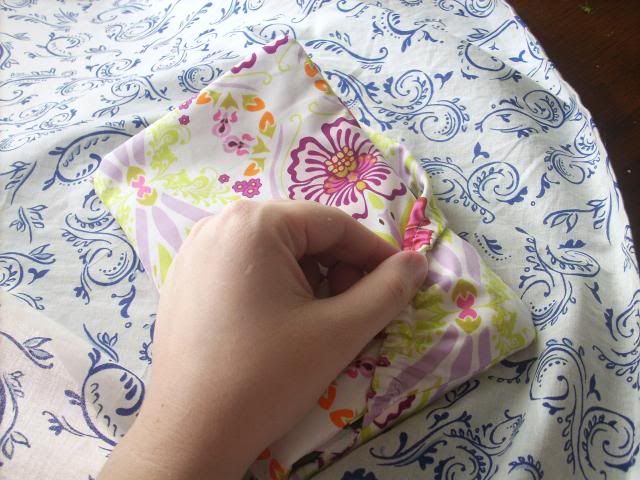
Pulling back the flap

The padded front

Opening the cover

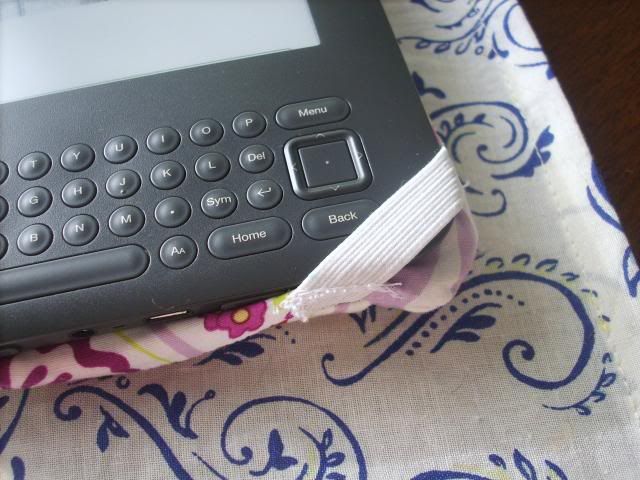
The elastic flap holds the padded flap in place so it doesn't flop around

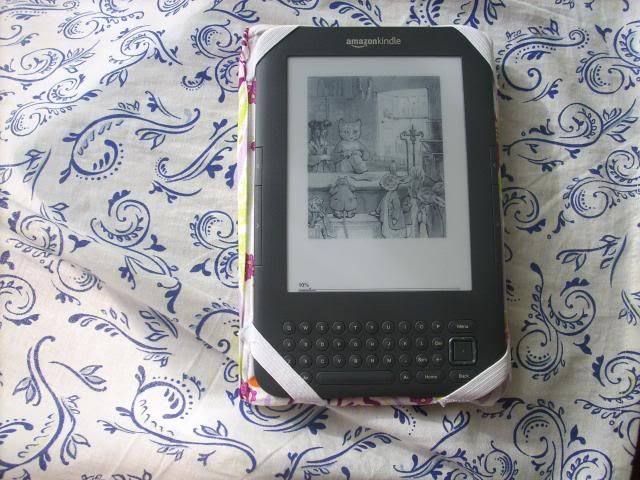
With a layer of batting in the front of the cover, I'll feel more comfortable keeping my Kindle in my bag when I go somewhere, and not worry about cracking the screen or anything. Plus, it makes it more comfortable to hold, because it's all soft and squishy.

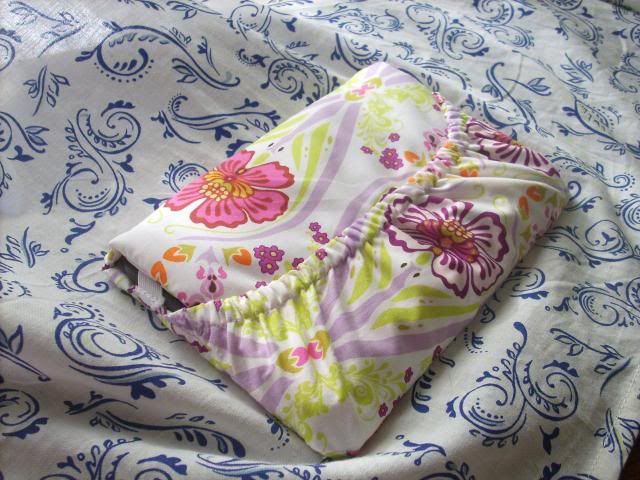
I made sure to make the elastic tighter so that it will hold my Kindle snugly, and the elastics also cover a little bit less of the bottom buttons. Now I don't have to take the Kindle out of its cover if I want to play games on it, which I do rather frequently.


I think I did end up sewing the elastic straps on a little crookedly, as can be seen in this picture, but it's not enough to convince me that my experiment in creating my own Kindle cover was anything but a success.


I didn't take pictures of the process of making this, but if I ever make another one I'll try to put together a tutorial. Since this was just an experiment there are still kinks to work out. But on the whole I'm super satisfied and love my new Kindle cover.