So even though my cabinets still aren't completely done, I'm still going to post about them. Because my readers, few though they may be, deserve to see my lovely cabinets in all their almost-finished glory!
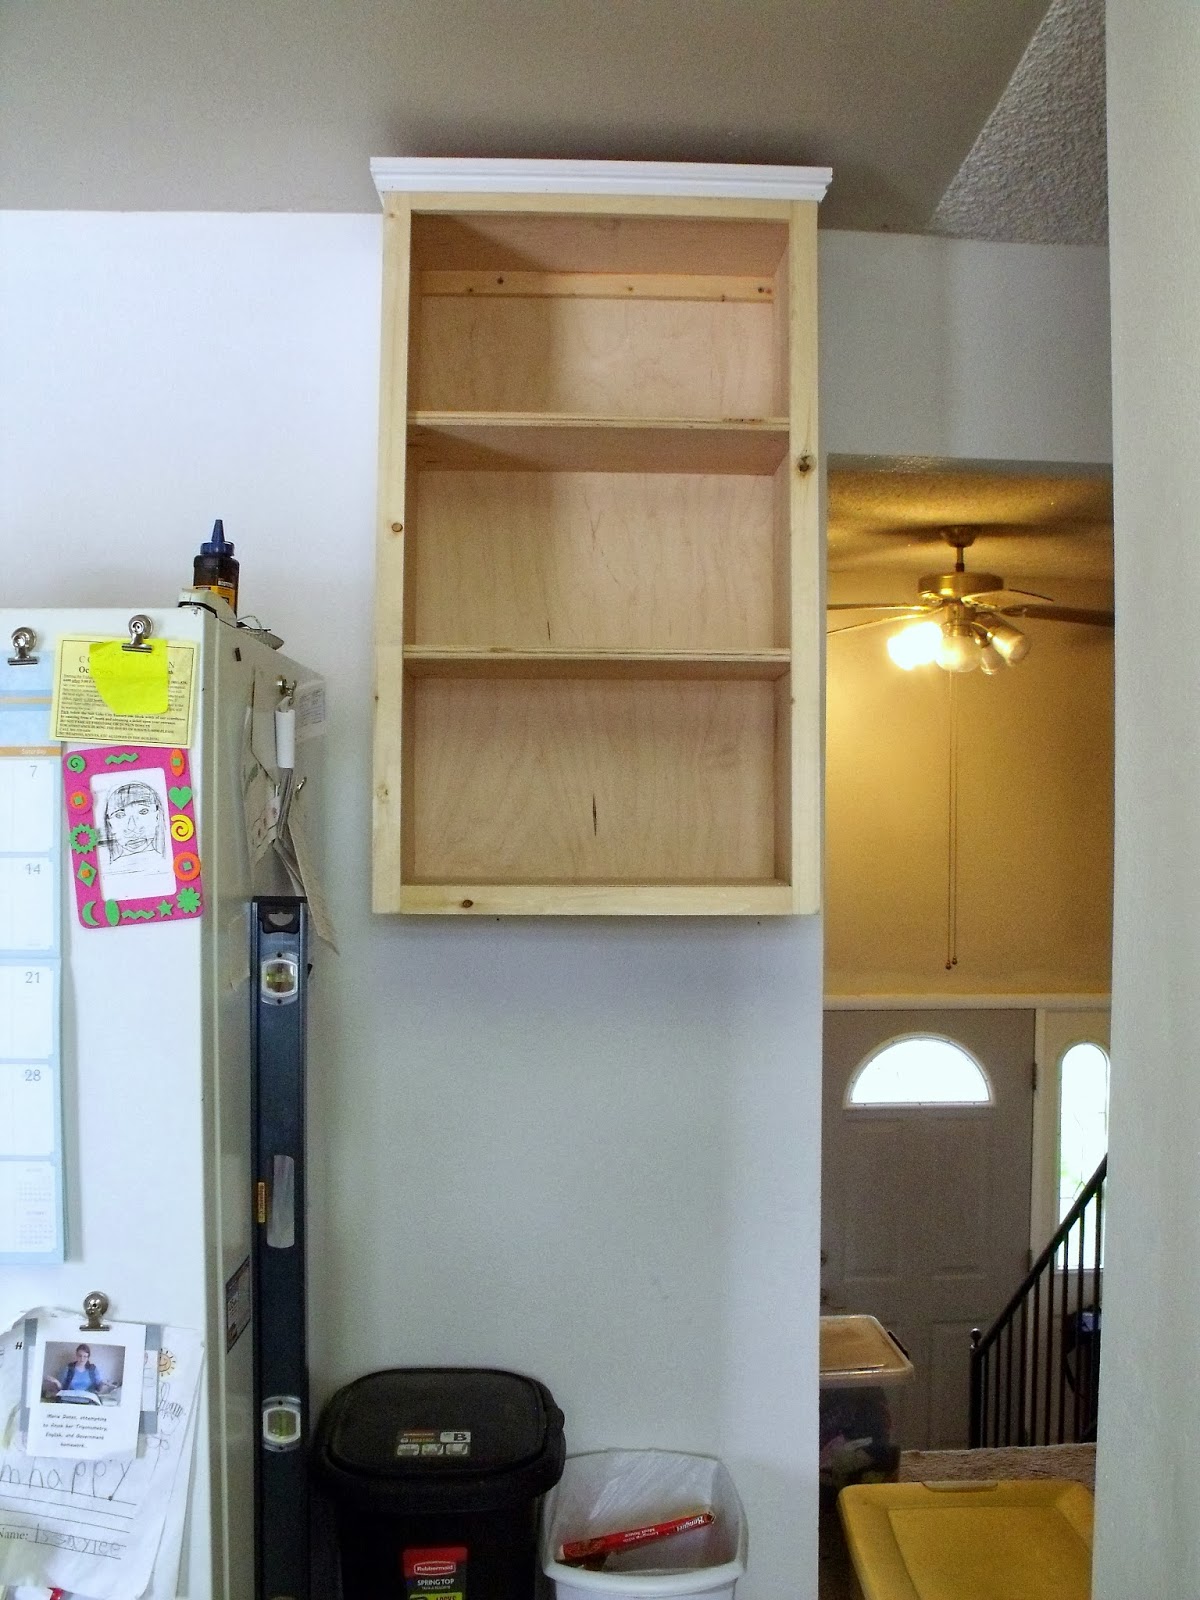
The last time I posted, my cabinets looked like this:
And like this:

And now they look like this!

I have fronts on all the drawers, and doors on most of the cabinets. I still need to make six upper cabinet doors, but since it is getting cold here in Utah, and I don't have a garage in which to work, there is a very distinct possibility that we will be living with door-less cabinets until spring rolls around. Kind of annoying, but if it's too cold to cut wood, I'm not going out and cutting wood. So there. :)
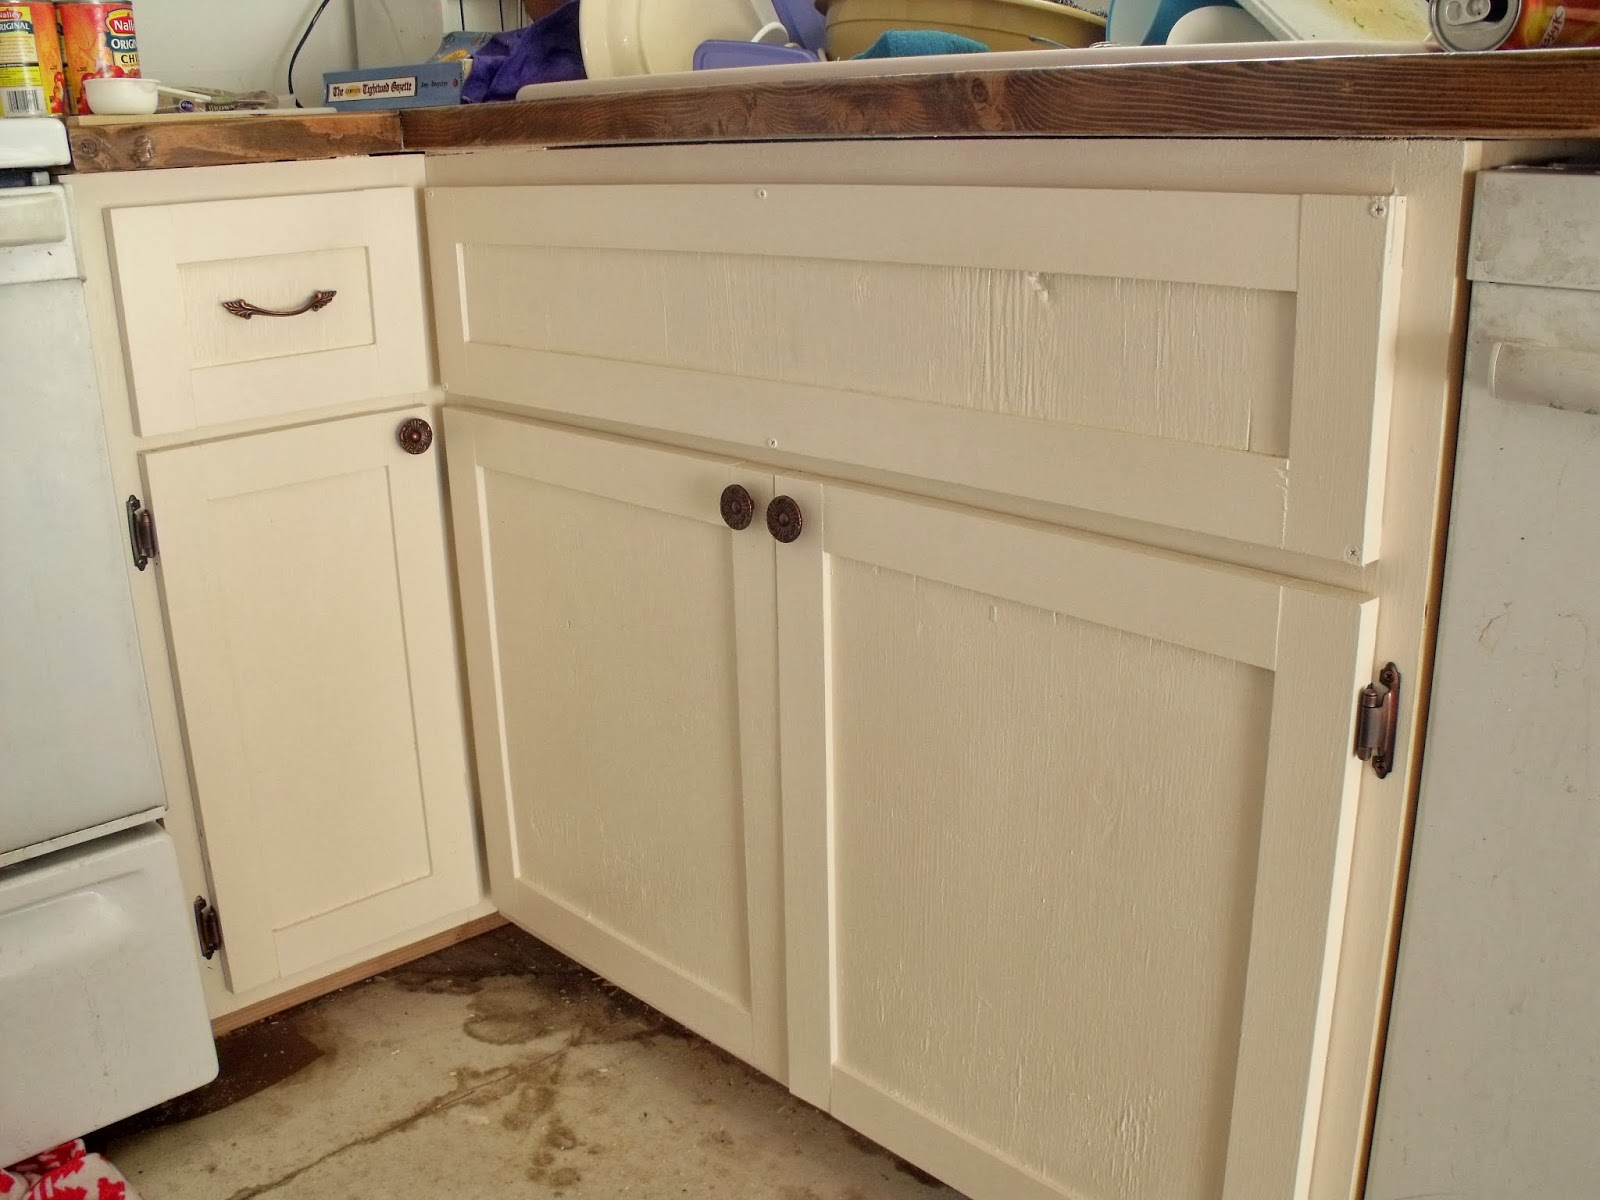
Here's one of our door-less cabinets, right next to the corner cabinet. I am particularly proud of this corner cabinet, and really like how the hinged doors turned out.

I originally bought some fancy corner pie cut hinges for the door that would be hidden, and would need holes drilled partially through the back of the door in order to install them. Eventually I chose to do these hinges instead. I like the look better, and they were much easier to install than the fancy hinges would have been.
All the hardware (hinges, knobs, drawer pulls) is oil-rubbed bronze. The paint is Valspar's Courtyard Tan in flat. I made it into chalk paint by adding a couple tablespoons of unsanded grout per cup of paint. The upper cabinets are finished using Minwax paste wax, and the lower cabinets are finished with polyurethane (I got lazy and didn't feel like waxing and buffing anymore!).
Here's a close-up of the door knobs:

And the drawer pulls:

Pretty, aren't they?
As for the doors themselves, I used two different styles of doors for the upper and lower cabinets. The upper doors are just 3/4" boards cut to size, and have mitered molding nailed to the front for decoration. I used this video by Bob Vila as inspiration for the doors. The lower doors are frame and panel doors made using these plans by Ana White.

The doors are hung with a 3/8" overlay on all sides. And let me tell you, hanging cabinet doors is no easy task! Especially when they were built by an amateur such as myself, and may not have been built perfectly square... But we did the best we could, and we just tell ourselves that all the little imperfections add character.
Stay tuned to see our floors. I just finished them, and they are super awesome!
In case you missed it:
Part 2: A Day in the LifePart 3: What Next?
Part 4: "Before" Pictures
Part 5: Demolition and Prep Work
Part 6: Cabinet Installation
Part 7: Counters
Linking:


No comments:
Post a Comment