Saturday, March 12, 2011

Hanging Fabric Baskets

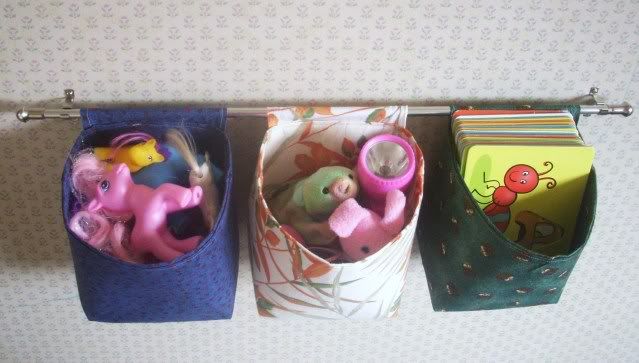
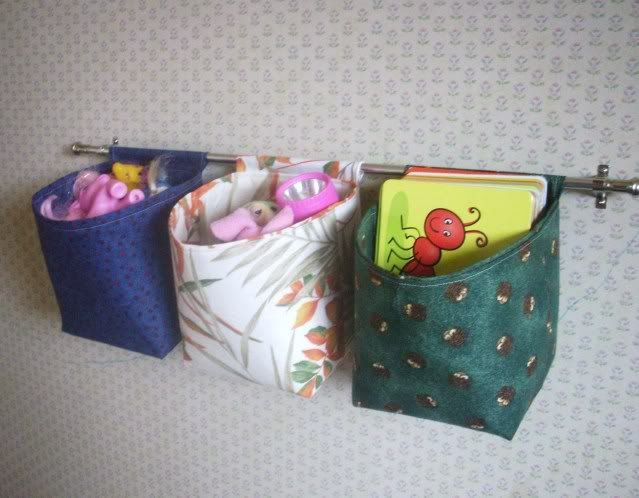
Lately I've been trying a variety of ways to straighten up the kids' toys. We have big plastic boxes, store bought canvas bins, shelves, etc. But the toys are still kind of all over the place. At our house, cleanliness is a work in progress. I wanted to add another storage option for toys, hanging baskets for each child's room. So I found this tutorial and got started. I used the measurements for large baskets.


This was my first time working with Pellon, and I really like it! It's easy to iron on, and works so well to stiffen the fabric.


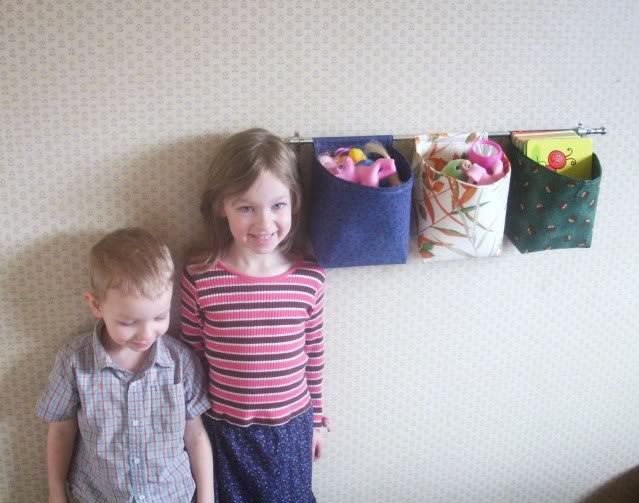
These are the baskets I made to hang in Zaylee's room, filled with her choice of toys - ponies on one side, alphabet cards on the other, and random stuff in the middle. I plan on making another set for Thomas' room. Both kids are really excited about these neat baskets that hang on the wall!

Tuesday, March 8, 2011

Sewing Apron

At some point I need to rearrange my sewing/crafting space. Currently, my sewing machine is on a small table in one corner of the family room, and I do my laying out, cutting, pinning, etc. in other areas of the family room. Not ideal, but that's how it is right now. It means that, when I am sewing, I go back and forth all over the room. I don't mind the exercise, lol, but I was having problems with leaving my stuff in one area and needing it in another. Mostly it's my scissors, straight pins, and measuring tape.

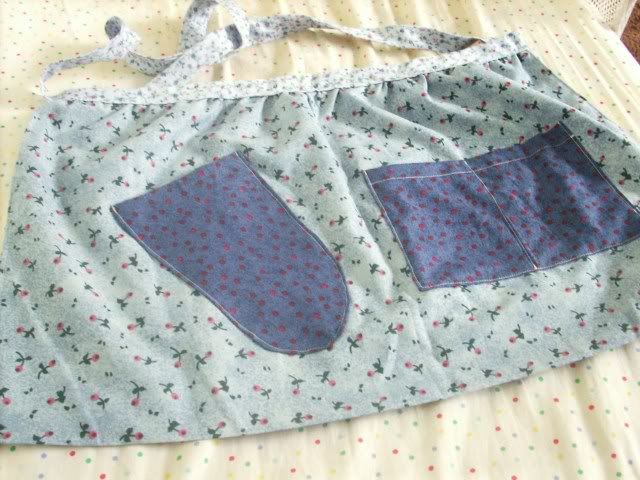
So I decided to solve the problem by making a sewing apron, with pockets for all the things that I tend to need in all my various sewing/prep areas.


I didn't take pictures of the process, but it was fairly simple. I cut a large rectangle of fabric, then hemmed the sides and bottom. I sewed on pockets for scissors, pin cushion, and tape measure. Then I gathered the top and sewed on some (homemade) bias tape as the waist band and straps.


This should make my sewing projects just a little easier - no more running back and forth because I've forgotten my pin cushion.

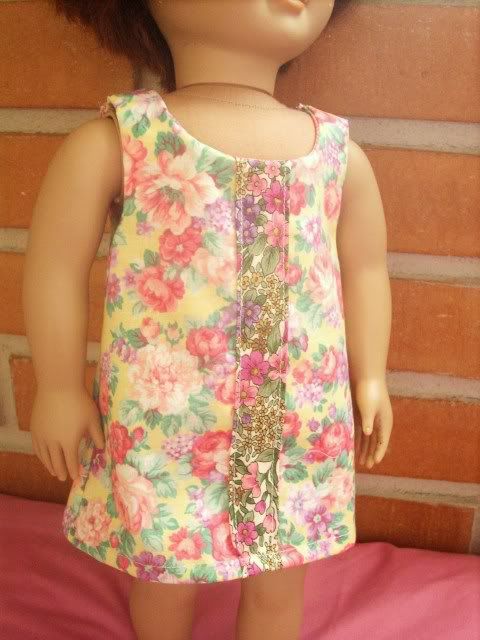
Jumper for 18" Doll


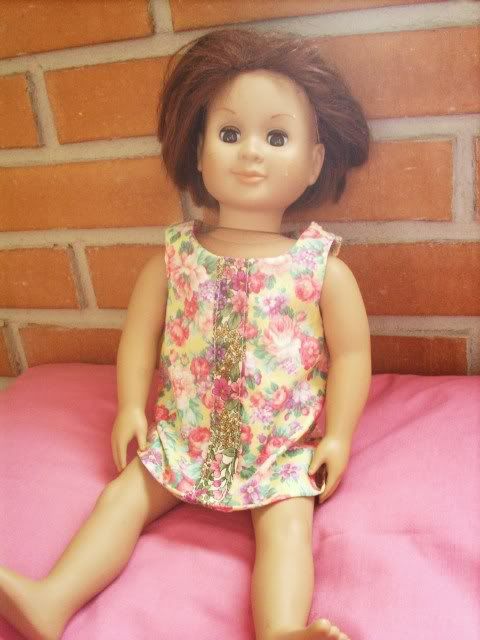
Someone recently gave Zaylee one of those 18" dolls that are so popular. She really likes it, and I figured I'd jump on the bandwagon of making clothes for her new doll. Joann's was selling Simplicity patterns for $1.99 each, so I went ahead and picked up a pattern for doll clothes...


...and made a cute little dress. It was actually pretty fun, sewing up that tiny little dress. I can see dolly dressmaking becoming addicting. Why not, I could always use another craft addiction! :-)


One great thing about making doll clothes is that I can use up little scraps of fabric. This dress was made of three 10" squares - one for the front, one for the back, and one for the inner facing. Great scrapbuster!


Saturday, March 5, 2011

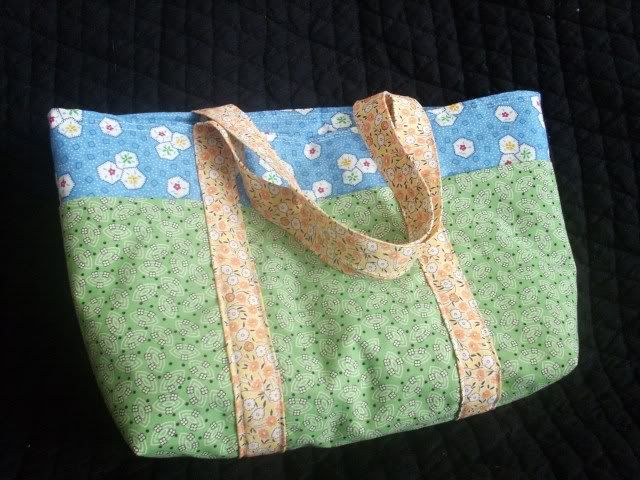
Six-Pocket Tote Bag

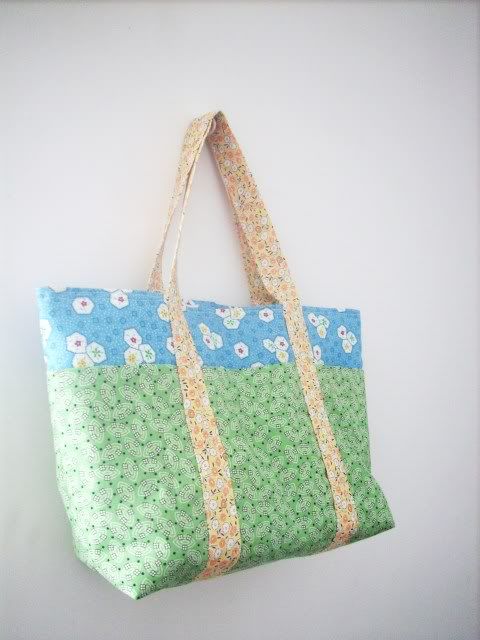
I recently received a box of fabric from a lady at church. She had noticed that I do a lot of sewing, and wanted to "donate" some of her stash. So for the past several days, I have been thoroughly enjoying going through the box over and over, getting to know my new fabric. Some of it is absolutely adorable, with a sort of retro vibe - Love it! I used three of those fabrics to make myself a new bag.


I have to say, I absolutely LOOOOVE the way this bag turned out! Look at those fabrics! The colors, the patterns, I'm in retro fabric heaven. To make this bag, I used this tutorial from the Better Homes and Gardens website. It was fairly simple to make; it took an hour or two at most.

I recently ordered two sizes of bias tape makers, and they arrived yesterday. I was able to use my 2' bias tape maker to made the straps for the tote bag. The instructions say to "Fold a 4-x-34-1/2-inch strip in half lengthwise with wrong side inside; press. Open and fold long edges into center; press. Refold in half and press," - basically it says to make double-fold tape. So I used the bias tape maker and it made it so easy! I already love my new tool.

This is the one I bought, it was 40% off!

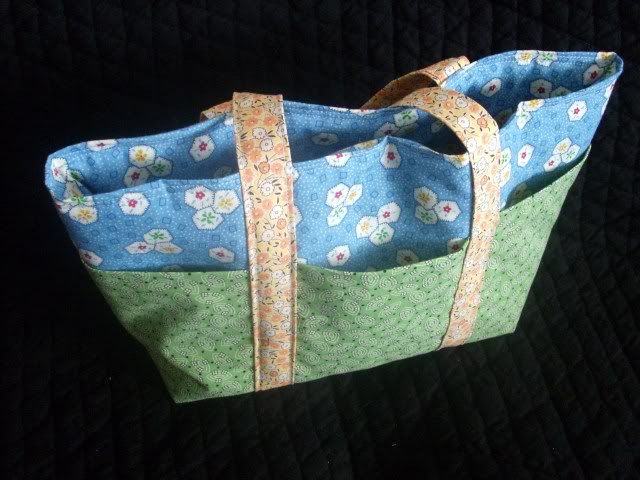
Anyway, back to my adorable bag. It has six small outer pockets, three on each side. The straps separate the pockets, and add a totally cute accent.


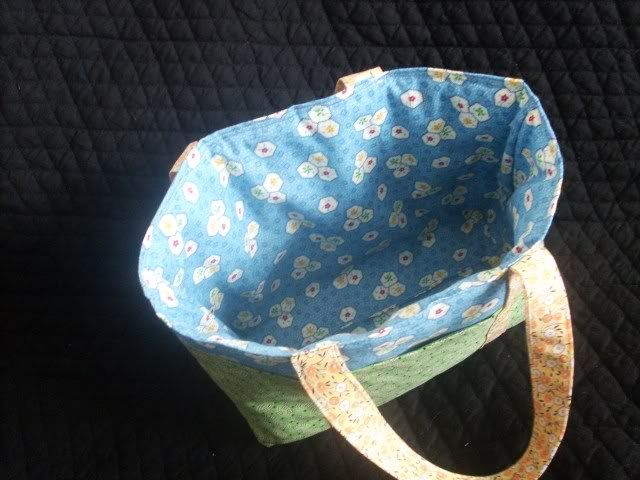
There is one large inner pocket. It is lined with batting, so it holds its shape well. This wasn't in the directions, but I top-stitched around the top of the bag. I like the way it looks better.


I think this will be my new church bag. Or purse. I haven't decided yet.

One last look:


Love it!
Thursday, March 3, 2011

More Rolled Fabric Necklaces

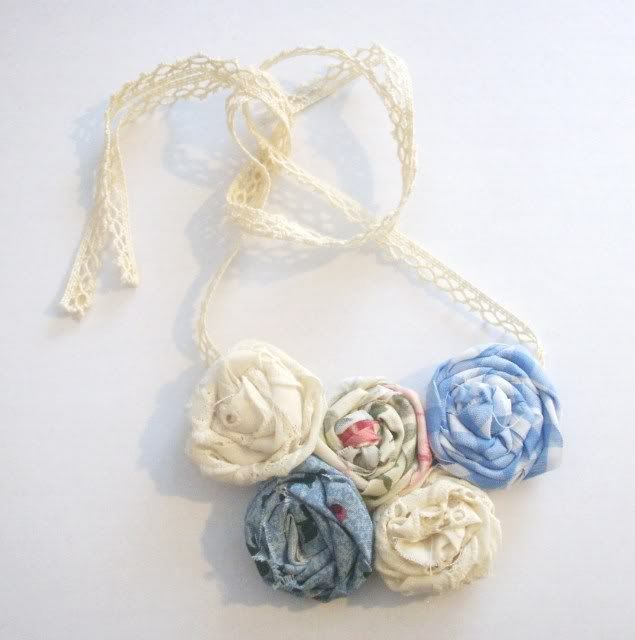
I love making rolled fabric flower necklaces! They're so simple, use up stash fabric, and turn out so pretty. I made three new necklaces today. I have them listed on whoopdwhoop, a "currency free marketplace" where people can list their homemade creations and swap them for other people's creations. Fun stuff!


Aren't they so sweet and girly?

Submitting this post to kojodesigns Spring Destash.


Sunday, February 27, 2011

New Dresses

Something about Saturday, as the day before Sunday, makes me want to sew. I guess it's because I then get to show off my creativity when we go to church on Sunday, and if anyone asks I can brush if off and say, "Oh, it's just something I whipped up yesterday." I'm modest like that. This Saturday I made two new dresses, one for each daughter.


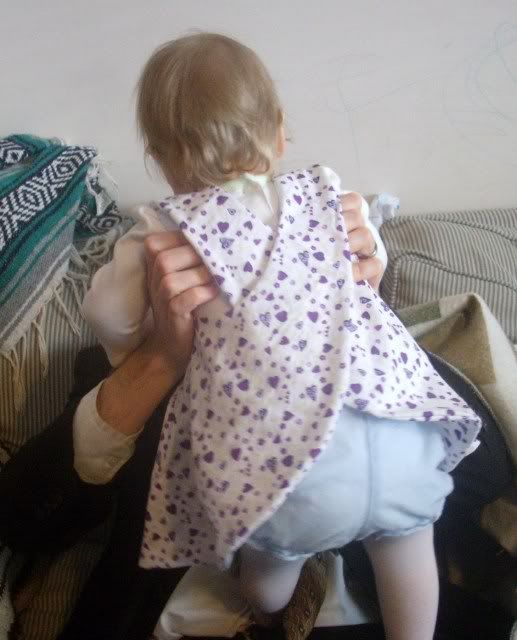
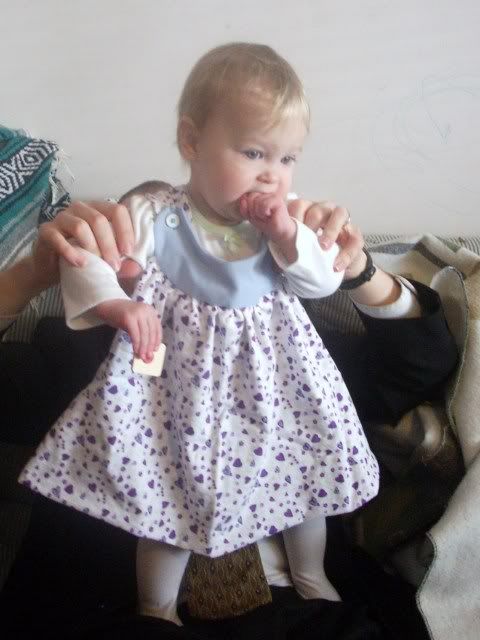
For Audrey's dress, I used an old pattern that I've had for a few years, and that my mom had for several years before that. It's one that I used to make a dress for my youngest sister when she was a little baby.


This sweet little dress is white with purple flowers, and a pale blue yoke. The dress crosses over pinafore-style in the back, and buttons to the yoke at the shoulders.


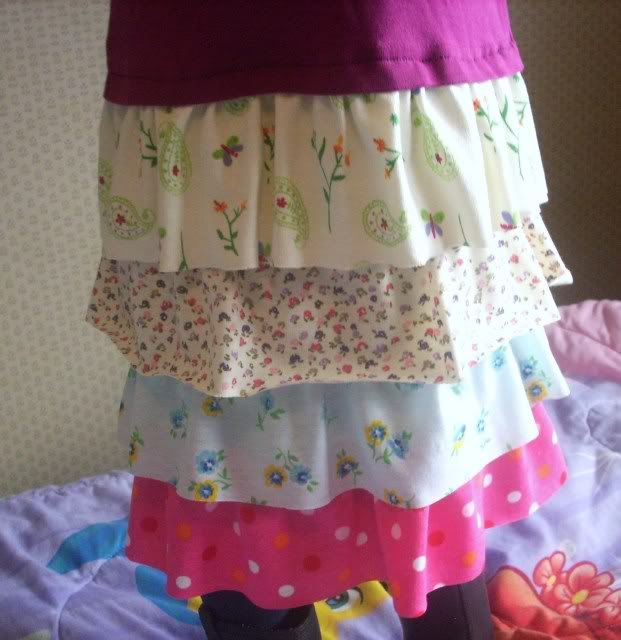
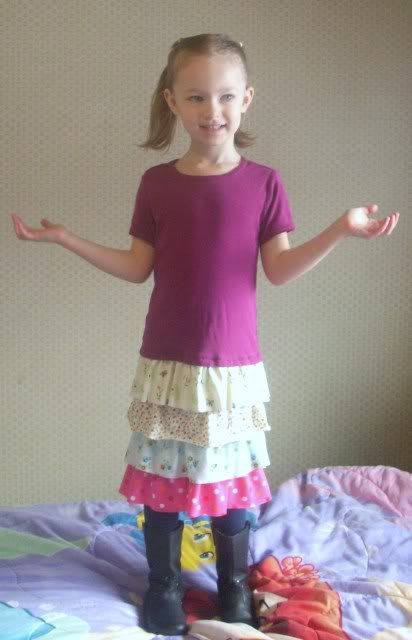
For Zaylee, I used this tutorial to make a ruffle-bottom t-shirt dress. Zaylee and I both love all the fun little ruffles on the skirt.


I wanted the skirt to come just below Zaylee's knees, so I added 12 inches to the bottom of the shirt, with four fabric ruffles. Flouncy ruffly fun! I didn't have to hem any of them, since I used knit fabric.


If I wasn't sure it would end up looking ridiculous, I'd probably make one of these fun dresses for myself!

Friday, February 25, 2011

The Sarah Hat

I seem to have bad luck when it comes to making things for myself to wear. They just don't fit right, or don't look right. Recently, a skirt for myself turned out so awful I had to cut it apart and turn it into skirts for Zaylee and Audrey instead. Hats that I try to make for myself usually end up too small and I have to give them to Zaylee. She makes them look way cuter than I ever could!

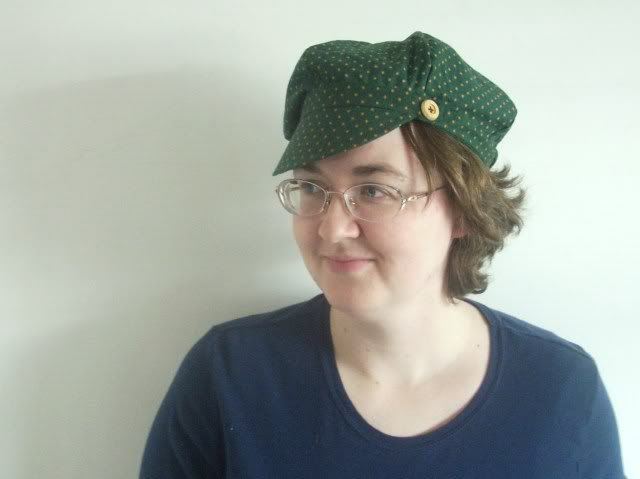
But this time I guess I found the right pattern, the Sarah Hat from BurdaStyle. It's a newsboy cap, with six triangular panels, a neat little brim, and a button detail.


I really love how this hat turned out. Especially the fact that it actually fit me. It's sassy, but with a dark color that's somewhat subdued, which really fits my personality as well.


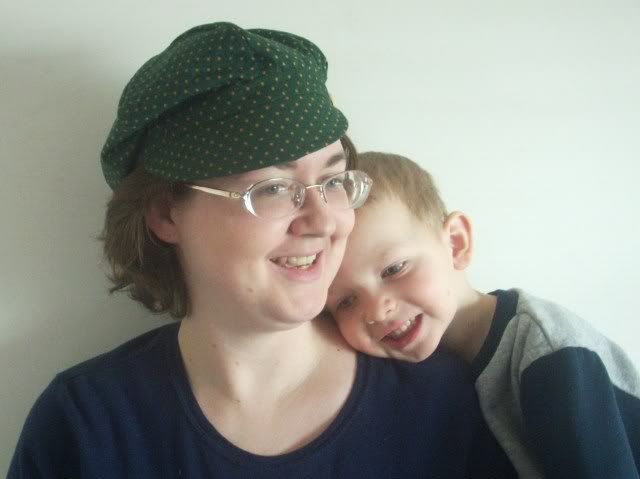
I love my little guy. And my hat. :)


I'm submitting this project to The 12 Month Craft The World Challenge. The theme for February is Garden. This hat fits the theme because it is green, the color of plant life. Also, it would make a great hat to wear while gardening - you can look chic while keeping the sun off your face.

Pattern
Instructions